

In this article, we’ll learn to install Ubuntu on Windows. Windows Subsystem for Linux or WSL is a functionality developed by Microsoft to use basic Linux functionalities natively on its Windows 10 operating system and Windows 10 Server.
With help of WSL, you no more need to dual-boot your system or have a Linux VM (Virtual Machine) to use the Linux environment because it provides all the command-line tools, applications, and utilities needed by most Linux users.
WSL makes your Windows system do all that natively, like running Linux binaries and operating on Windows files using Linux terminal.
In this article, we will go through the complete process on installing WSL on your Windows powered desktop.
Pre-requisites for WSL
There are few basic pre-requisites to get Ubuntu WSL up and running on your Windows system, like –
- Pre-installed Windows OS on your system
- A good Internet connection
- Microsoft Store signed in with a Microsoft Account
If you haven’t yet signed-in to Microsoft Store, click on ![]() icon at the top-right in Microsoft Store. And log-in with your credentials.
icon at the top-right in Microsoft Store. And log-in with your credentials.
Steps to Install Ubuntu on Windows
Let’s get started with set up and install Ubuntu on Windows.
1. How to enable WSL on your Windows system?
For setting up WSL on your Windows system, you need to enable a few Windows features as they are set to OFF by default. You can also turn these features ON by using PowerShell commands, as seen in most articles related to WSL.
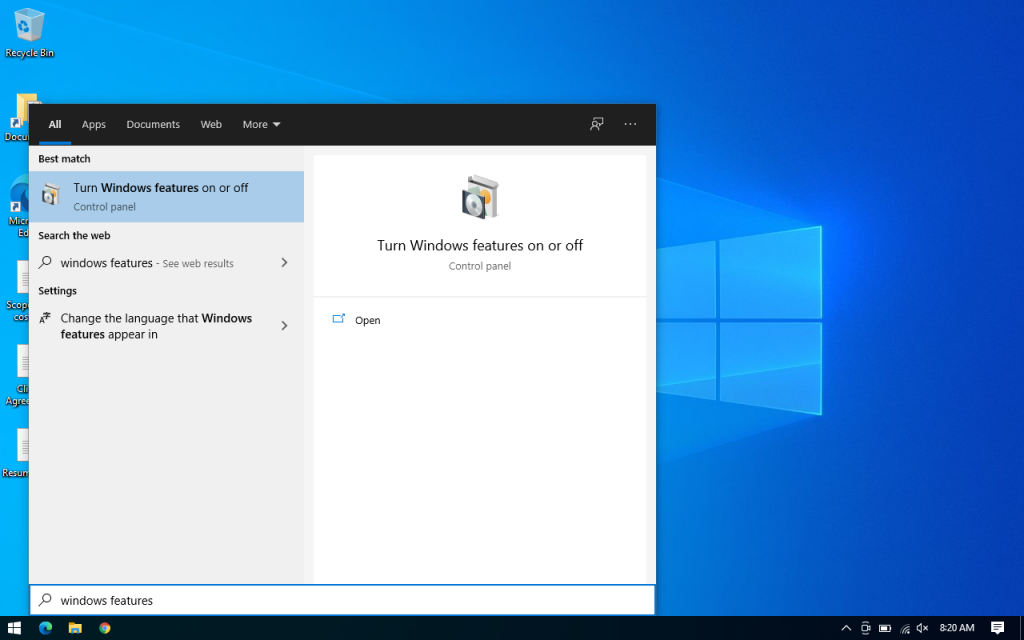
Click on ![]() key and search for “windows features“, it will show the “Turn Windows features on or off” option from Control Panel.
key and search for “windows features“, it will show the “Turn Windows features on or off” option from Control Panel.
Double click or hit Enter to open it and a dialog box will appear.
From this dialog box, tick on the checkboxes “Virtual Machine Platform” and “Windows Subsystem for Linux”.
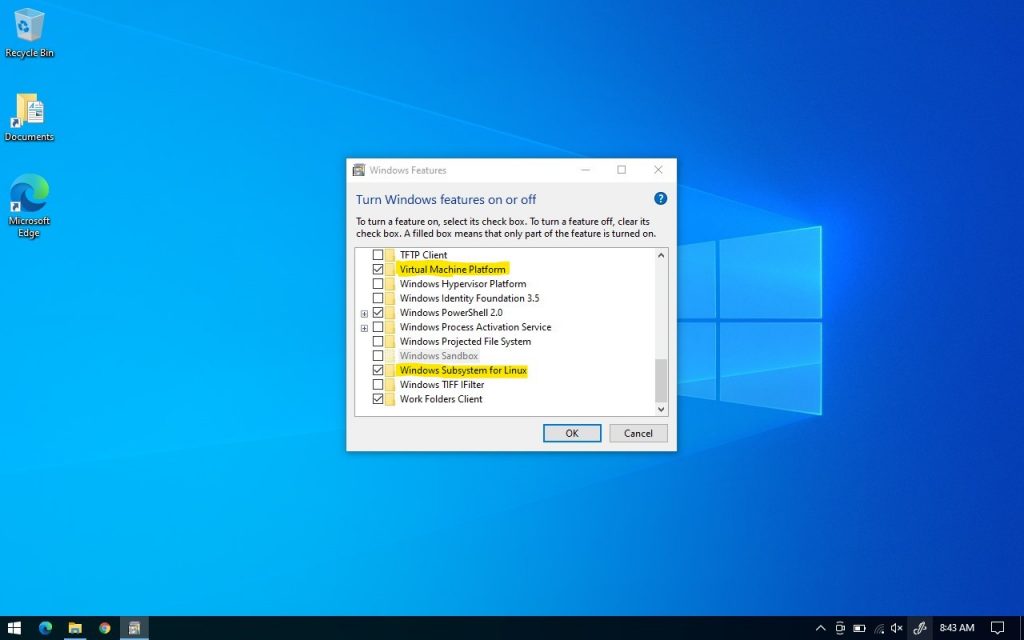
Now, you have enabled WSL (Windows Subsystem for Linux) for your system. Apart from this, you need to have a Linux distribution for your WSL, which we will download and install via Microsoft Store.
2. Install Ubuntu on your WSL
Now, open your Microsoft Store and search for Ubuntu.
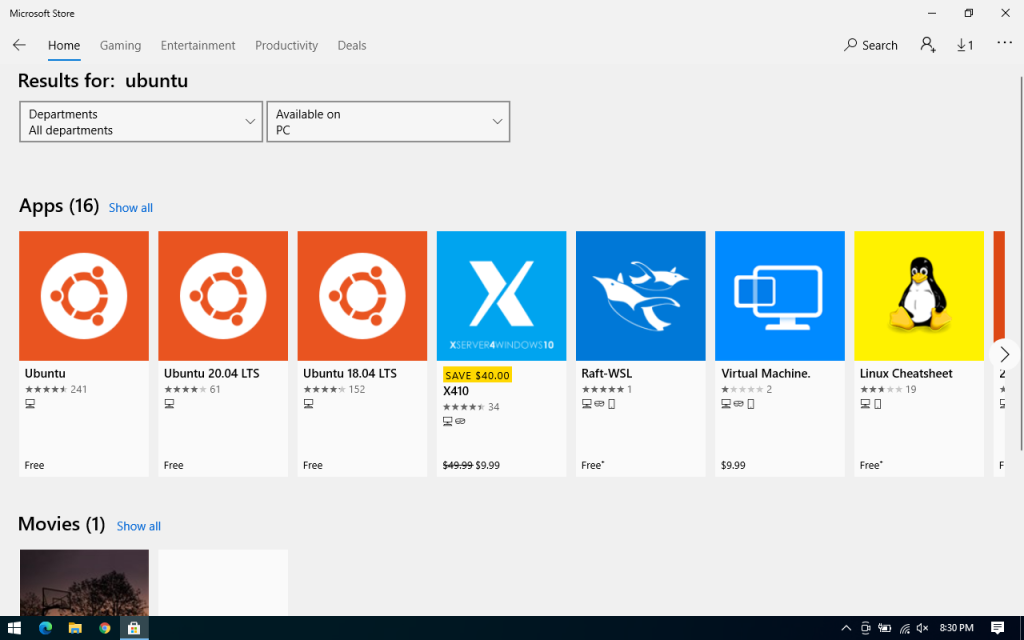
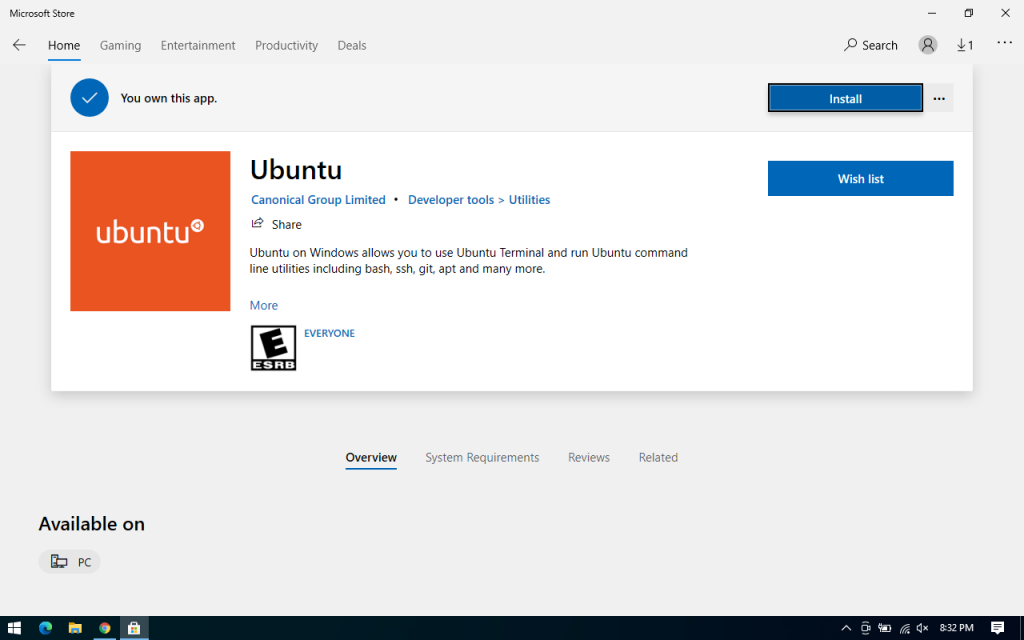
Choose any of the listed Ubuntu distributions from the search results, and it will show an Install button above the application panel. Click on the Install button and wait for a moment, the installation will shortly begin.
Note: Make sure you have logged-in to the Microsoft store, else it will prompt you to login after clicking on Install.
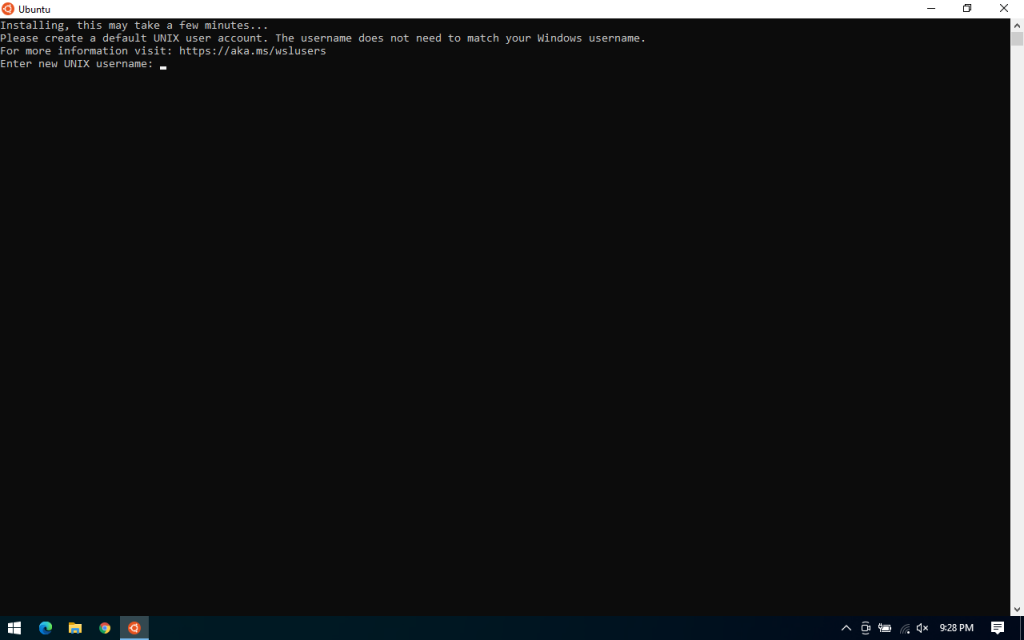
After all this, on first startup your WSL will ask to setup log-in credentials for your WSL, to finish installation.
3. Running Ubuntu distribution using WSL
After the Ubuntu WSL (Windows Subsystem for Linux) is installed, a Launch button will appear. Click on the Launch button to start the Ubuntu WSL.
You can also open it from your Start menu, as a new entry named “Ubuntu” will be added there for easy access.

When you launch the Ubuntu WSL for the first time, it will ask you to wait for some time to complete its setup and after that it will ask you to enter login credentials of your choice.
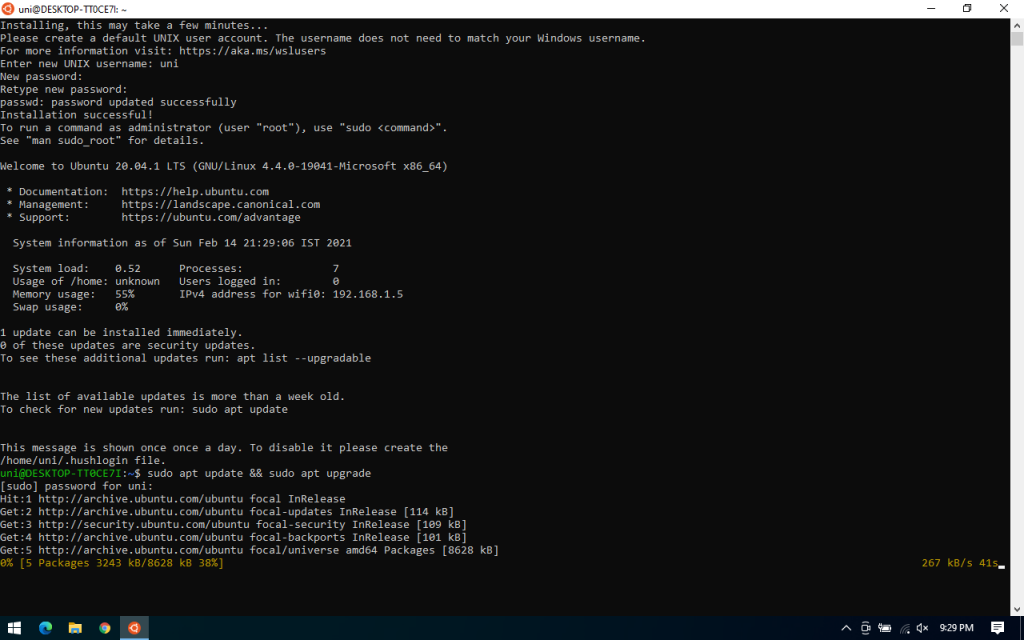
After setting up the credentials, your Ubuntu WSL is ready.
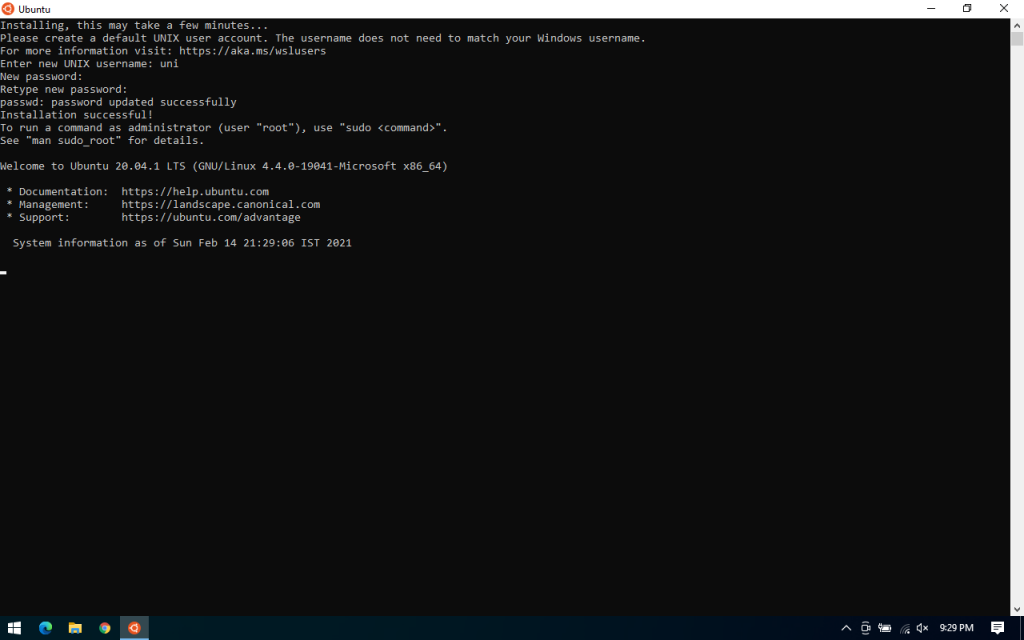
To check if your Ubuntu WSL works properly, you can run any Linux command of your choice as now you have a fully operational Linux terminal which can run anything natively as your original Linux system does.
Bonus
- You can run the native terminal of Ubuntu, OpenSUSE, Kali with WSL on your Windows machine.
- You can find any of the supported distributions for your WSL on Microsoft Store and use it.
- The Linux Kernel used by Microsoft’s WSL is openly available on GitHub, you can check out its code here.
Conclusion
In this article, we learned the process for setting up WSL (Windows Subsystem for Linux) on our Windows system and how we can use all the basic Linux functionalities on our system without doing much hassle. We also discussed that we can also use various other distributions with WSL, which are available on Microsoft Store.