
PostgreSQL, or Postgres, is a relational database management system that provides an implementation of the SQL querying language. It is a popular choice for many small and large projects, having many advanced features like transaction management and transaction without read-locks, which are essential for a high performant database.
Now, in this tutorial, let us look at how we can set up and install PostgreSQL on our Ubuntu system. We will also show you how you can create a new account on PostgreSQL for all your Database Management needs.
Step 1: Install PostgreSQL on Ubuntu
Ubuntu’s default repositories contain Postgres packages, so you can install these using the apt packaging system directly. So, let’s update our system first before installing PostgreSQL from its source repository.
We will be installing both the native postgresql package, as well as a -contrib package that adds some additional utilities and functionality.
sudo apt update
sudo apt install postgresql postgresql-contrib
Now, if this runs successfully, we have installed PostgreSQL, and we are now ready to configure it.
Step 2: Interact with the PostgreSQL Database System
The installation procedure created a user account called postgres that is associated with the default Postgres role. In order to use Postgres, you can log into that account.
To use the postgres account, we can simply switch to that account like root, using:
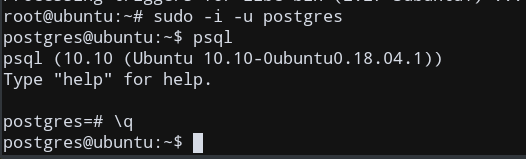
sudo -i -u postgres
This will log you directly into an account called postgres without the intermediary bash shell in between.
Now, we can login and interact with the Database as the postgres user, by simply typing:
psql
To, exit the psql prompt, simply type: \q.
Step 3: Create a new Role in PostgreSQL Database
We do not always want to switch to the postgres account to login to the Database System every time. Hence, a better alternative would be to create a new account from which we could login into PostgreSQL, without using either the postgres or the root accounts. This is also useful when you need to create different Databases depending on the user.
This involves creating a new role (account) in PostgreSQL for our user. Let us do that now.
We can create new roles from the command line with the createrole command. The --interactive flag will prompt you for the name of the new role and also ask whether it should have sudo permissions.
If you are logged in as the postgres account, you can create a new user by typing:
postgres@ubuntu:~$ createuser --interactive
This will now go to an interactive session for creating a new user, with suitable privileges.

Step 4: Create a New Database for our new Role/User
An assumption that the Postgres authentication system makes by default is that for any role used to log in, that role will have a database with the same name which it can access. Therefore, for our user called admin, the system will automatically try to connect to a Database called admin. But, we don’t have any Databases associated with our newly created account.
So, let’s create a database for our admin user, called admin. After this, we can finally log onto our new account.
We use the createdb command, while being logged into the postgres user.
postgres@ubuntu:~$ createdb admin
Step 5: Create a New Linux User for PostgreSQL Role
You will need a Linux user with the same name as your Postgres role and database.
If you don’t have a matching Linux user available, you can create one with the adduser command. Log out from the postgres account by typing exit, and then run this command as root.
root@ubuntu:~# sudo adduser admin
We are now ready to open PostgreSQL from the admin account.
Step 6: Log in to our new PostgreSQL account
To log in to psql, we again need to switch accounts; This time using admin.
sudo -i -u admin
We can now type psql to login to our new account.
To look at the connection details, type \conninfo to look at the User name, Database name, etc.
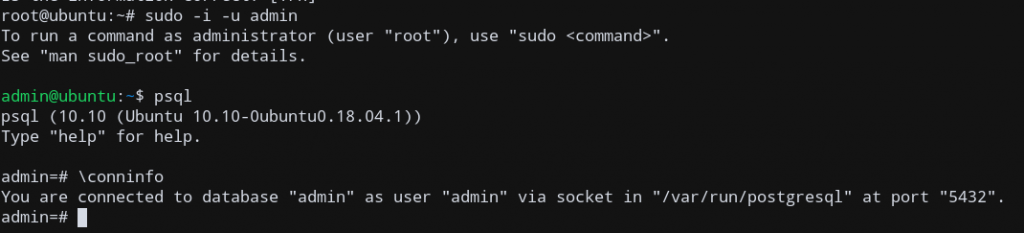
We have successfully created and logged onto a new PostgreSQL account! Now you can go on further and start using the full functionality of PostgreSQL from your new role!
Conclusion
In this tutorial, we showed you how we can install and configure PostgreSQL on Ubuntu 18.04 from the Terminal. We also showed how we can create a new account for PostgreSQL and log into that account. You can now start creating and manipulating databases for your custom role! I hope this tutorial helped you in configuring PostgreSQL without too much hassle. If you’re planning to create an application, you may want to consider the better option between PostgreSQL vs SQLite that suits you best.