
Whiptail is tool which lets you display dialog boxes from shell scripts. This makes your shell scripts look look cooler and more professional while still providing extensive functionality.
In this module, we are going to learn how to use Whiptail in your shell scripts to make them better !
Installing Whiptail
Installing whiptail is as easy as it gets. To install it, simply type :
$ sudo apt install whiptail
Whiptail Boxes
Whiptail has a lot of different box types for you to choose from. Here we have discussed some of the more important features offered by whiptail :
1. Adding Yes/No Boxes
The syntax for spawning such a box is :
$ whiptail --yesno [TEXT] [HEIGHT] [WIDTH]
A Yes/No Box allows you to control the flow of execution based upon the user’s choices :
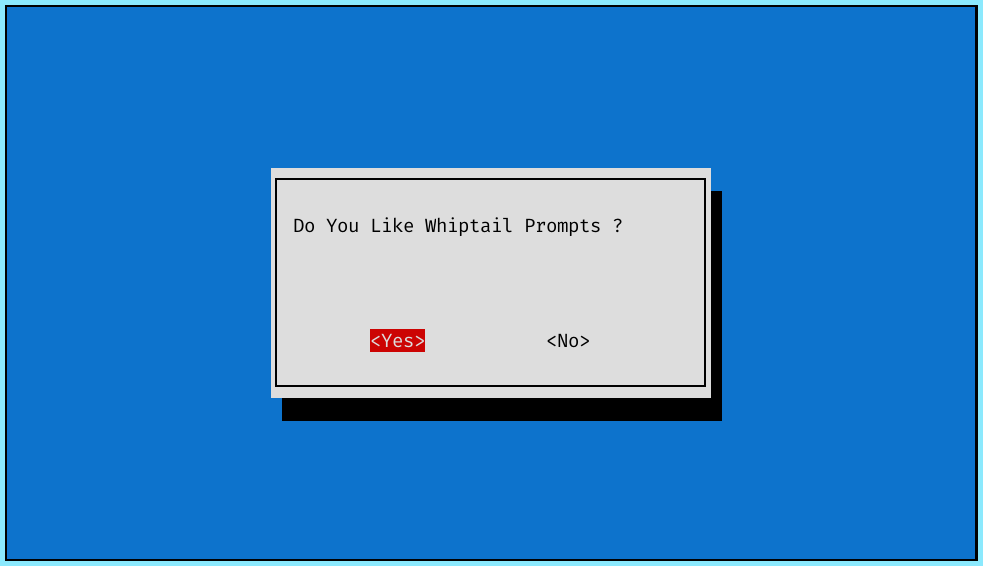
If the user selects Yes then whiptail returns a value 1 else if the user selects No then it returns a value 0. In case whiptail encounters an Error or the user exits without specifying a choice, then it returns -1.
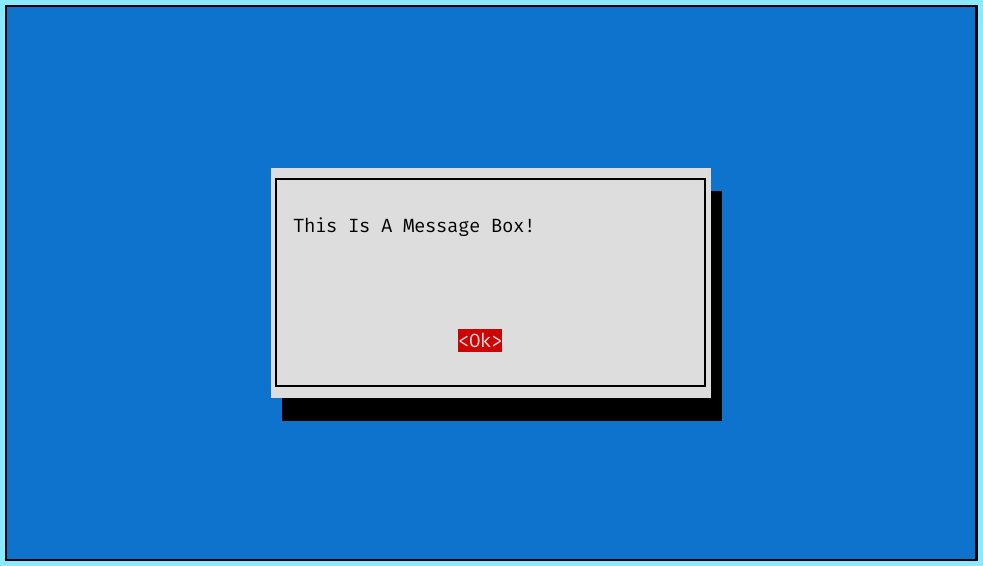
2. Message Boxes
The syntax for spawning a message box is :
$ whiptail --msgbox [TEXT] [HEIGHT] [WIDTH]
A message box is very similar to a Yes/No box except that it just comes with a single OK button. The prompt exists on pressing Enter and the execution of the shell script continues.
3. Input Boxes
Input boxes are some of the most important features of whiptail. The syntax to create a input box is :
$ whiptail --inputbox [TEXT] [HEIGHT] [WIDTH] [INIT]
It also enables scrolling so that incase your input string is longer than the width of the dialog box, the input field will be scrolled. It also allows us to specify a string (INIT) with which we can initialize our input box. It also allows the user to make corrections in the input with the help of backspaces in case of error in input.
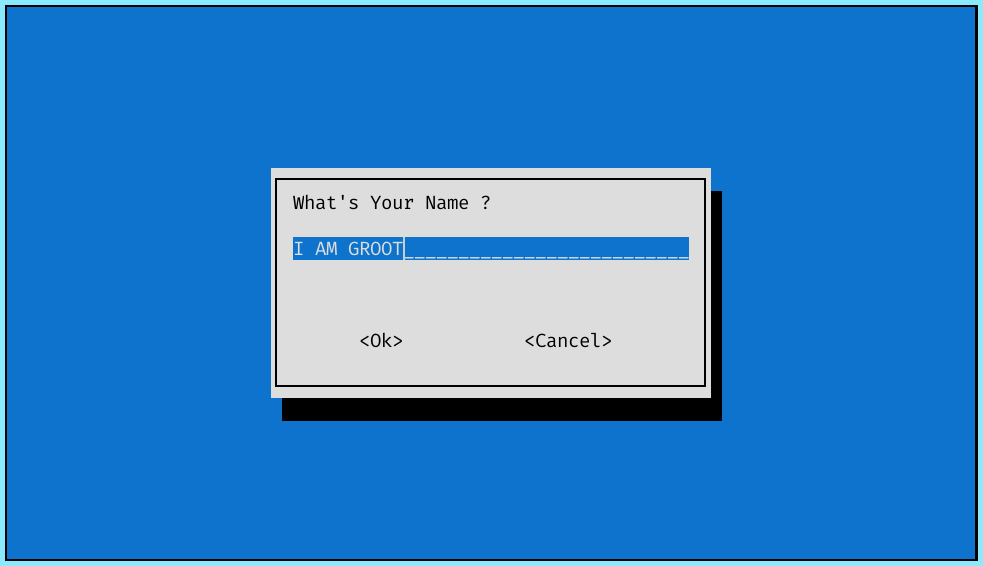
By default, it prints the message to stderr but you can store the output in a variable as well and later use it in your shell scipts !
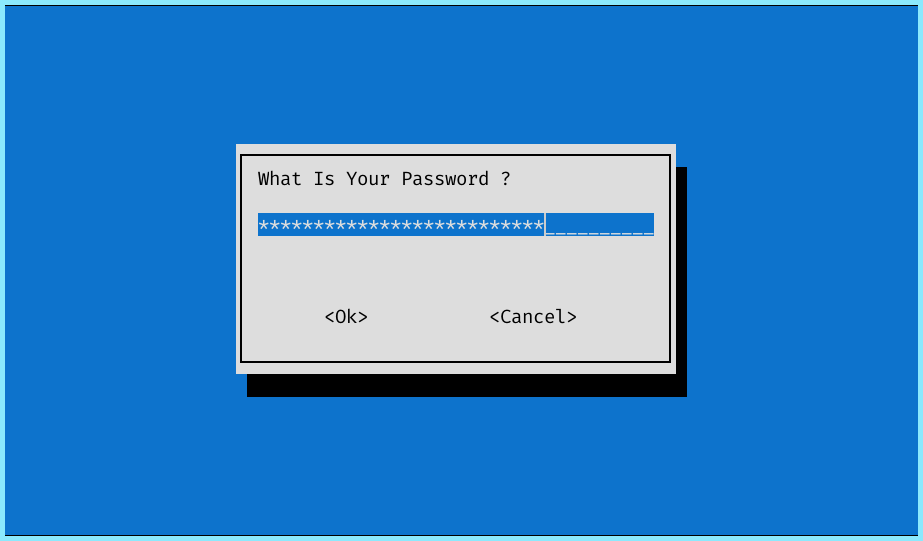
4. Password Boxes
Password boxes are very similar to input boxes except that whatever you enter will not be reflected back to the user. It’s synatx is similar to inputboxes as well :
$ whiptail --passwordbox [TEXT] [HEIGHT] [WIDTH] [INIT]
You can also specify a “default password” using INIT which is not really recommended.
4. Menu Boxes
Menu boxes, as the name suggests, gives you a list of options to choose from. The syntax for the same is :
$ whiptail --menu [TEXT] [HEIGHT] [WIDTH] [MENU HEIGHT] [TAG] [ITEM]
Here we also need to specify the MENU HEIGHT, which dictates how many items would be shown on the Prompt menu. Then we need to specify an ITEM and a TAG by which the item would be identified. You can specify as many as you want as whiptail allows for scrolling
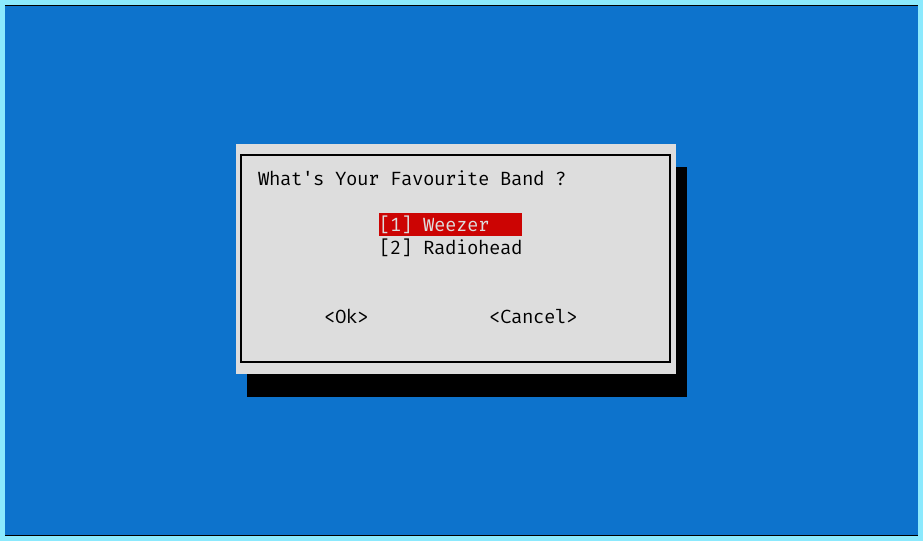
Upon exiting, whiptail would print out the selected TAG to stderr.
5. Other Boxes
There are still many different boxes available for whiptail like :
- Info box
- Checklist box
- Radiolist box
- Gauge box
You can get a comprehensive understanding of these by using the man command:
$ man whiptail
Whiptail Options
You can further customize whiptail promts with flags :
- –clear : The screen will be cleared to the screen attribute on exit. This doesn’t work in an xterm (and descendants) if alternate screen switching is enabled, because in that case slang writes to (and clears) an alternate screen.
- –defaultno : The dialog box will open with the cursor over the No button.
- –yes-button [TEXT] : Change the text of Yes Button
- –no-button [TEXT] : Change the text of No Button
- –noitem : The menu, checklist and radiolist widgets will display tags only, not the item strings. The menu widget still needs some items specified, but checklist and radiolist expect only tag and status.
- –notags : Don’t display tags in the menu, checklist and radiolist widgets.
- –output-fd [FD] : Direct output of whiptail to a particular File Descriptor
- –title [TEXT] : Set the title of boxes
Conclusion
Thus in this module we learnt how to effectively use whiptail for creating effective shell scripts. This gives your shell scripts a very professional look and even a better user experience . You can even further explore the tool via it’s man pages !