

When a USB drive mounts itself the moment you plug it in, or a symlink appears in /dev for your new disk, that is udev at work. The udevadm command is the control tool for that system: it shows what the kernel knows about each device, replays device events, and applies the rules stored in /etc/udev/rules.d and /usr/lib/udev/rules.d.
Every example below ran on an Ubuntu 24.04 server running systemd 255, so you know exactly what to expect on a current machine. If a device is behaving oddly or a rule refuses to fire, these are the commands that find out why.
udevadm syntax
udevadm takes one subcommand, and each subcommand has its own options:
udevadm info options
udevadm monitor [options]
udevadm settle [options]
udevadm control option
udevadm trigger [options] [devpath]
udevadm test [options] devpath
udevadm verify [options] [file...]
udevadm wait [options] device
The last three arrived in recent systemd releases. verify checks rule files for syntax errors without applying them, and wait blocks until a matching device shows up, which is useful in scripts that must not race hardware detection at boot. Run udevadm –help to see which subcommands your version supports.
Query device properties with udevadm info
udevadm info answers the question every rule depends on: what does udev actually know about this device? The simplest query prints just the kernel name of a device:
udevadm info -q name -n /dev/sda
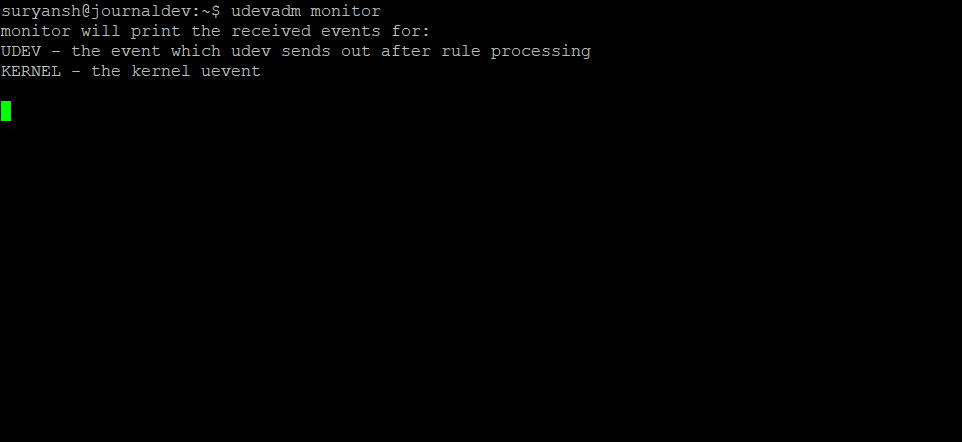
The -q flag selects what gets printed (name, path, symlink, property, or all), and -n names the device through its /dev node. Swap the query type to see the same device from other angles:
- udevadm info -q path -n /dev/sda prints the sysfs path such as /devices/pci0000:00/…/block/sda
- udevadm info -q all -n /dev/sda prints every recorded property, including ID_FS_TYPE once a filesystem exists
To build a rule you need matchable attributes, and that is what -a (–attribute-walk) gives you. It starts at the device and walks up the parent chain, printing everything in udev rules key format:
udevadm info -a -n /dev/sda
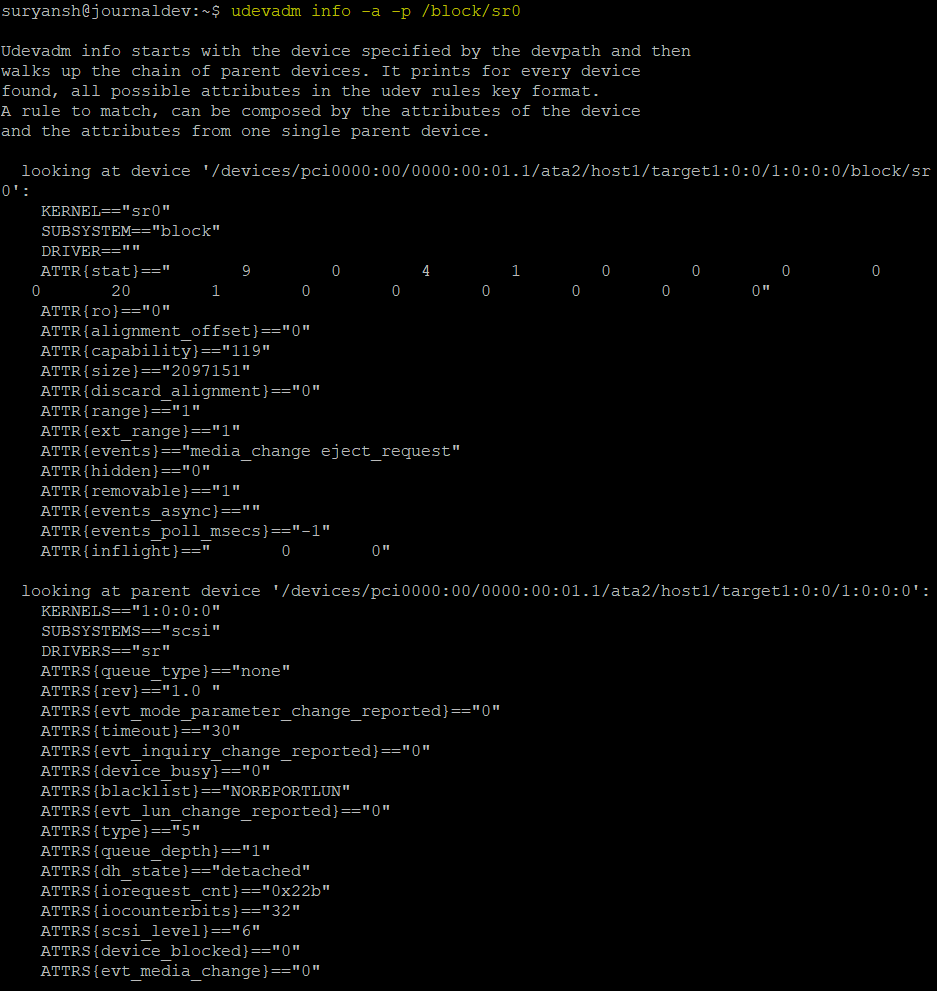
On this server the first block reads KERNEL==”sda”, SUBSYSTEM==”block”, followed by dozens of ATTR entries like ATTR{size} and ATTR{queue/rotational}. One rule may combine keys from the device itself plus the keys of a single parent, nothing more. Copy values straight from this output into your rule, because guessing vendor strings by hand is how most broken rules start.
Watch live events with udevadm monitor
udevadm monitor prints device events as they happen, from two sources: the raw uevents the kernel emits, and the events udev sends after processing rules. Run it and then plug something in:
udevadm monitor
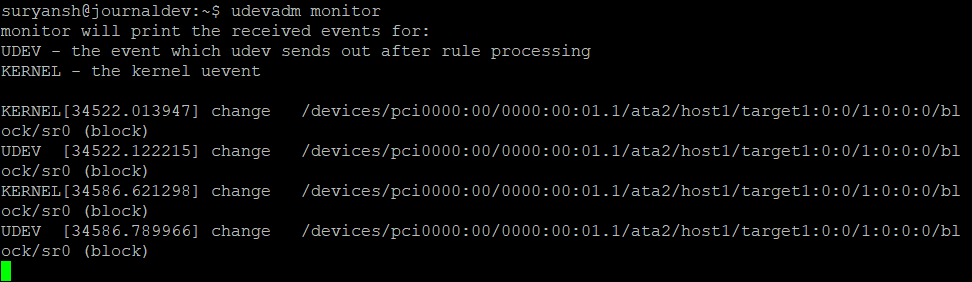
Each event line carries an action (add, remove, change) and the device path, so you can see exactly when the kernel notices hardware versus when udev finishes acting on it. Two flags narrow the stream when it gets noisy: –kernel shows only kernel uevents, and –subsystem-match=block restricts output to block devices. Add –property to dump the full environment variables of each event instead of one-line summaries, which is how you discover values like ENV{PRODUCT} for rule writing.
Write and apply a udev rule without rebooting
A rule connects a matched device to an action. Create a file ending in .rules under /etc/udev/rules.d (the local directory, while /usr/lib/udev/rules.d belongs to packages):
sudo nano /etc/udev/rules.d/91-keyboard.rules
Add a line that matches your device and runs a script. You can learn the exact ENV{PRODUCT} value first by running udevadm monitor –property –subsystem-match=usb and plugging the device in:
ACTION=="add", SUBSYSTEM=="usb", ENV{PRODUCT}=="1a2c/4c5e/110", RUN+="/usr/local/bin/keyboard.sh"
Keep the script somewhere stable like /usr/local/bin and make it executable:
sudo chmod +x /usr/local/bin/keyboard.sh
New rules files are not read until the daemon reloads them. That is the job of udevadm control, which manages the running systemd-udevd daemon:
sudo udevadm control --reload
–reload re-reads all rules and databases. Other control options matter during debugging: –log-level=info raises daemon verbosity, –stop-exec-queue and –start-exec-queue pause and resume event processing, and –ping confirms the daemon answers. From the next plug-in event onward, the matched device triggers your script, and the effect lands in whatever log the script writes:
cat keyboard.log
Keyboard connected!
If you also want existing devices processed against the new rules right now, use udevadm trigger, covered next.
Replay events with udevadm trigger
udevadm trigger asks the kernel to resend events for devices that already exist. Nothing is unplugged, and udev simply processes each named device again as if it had just appeared. A dry run lists what would be affected:
udevadm trigger --verbose --dry-run --subsystem-match=block
/sys/devices/pci0000:00/0000:00:05.7/virtio2/host0/target0:0:0/0:0:0:1/block/sda
/sys/devices/pci0000:00/0000:00:05.7/virtio2/host0/target0:0:0/0:0:0:1/block/sda/sda1
Drop –dry-run to fire the events. Filters keep the replay small: –subsystem-match=block targets disks only, and –action=add makes udev treat every replayed device as freshly connected, which is exactly what tests a rule written for ACTION==”add”. Trigger is also the standard fix for symlinks in /dev that did not get created because a rule was added after boot.
Test rules safely with udevadm test
Before betting a live device on a new rule, simulate it. udevadm test loads the rules, processes one device path, and prints every match and command it would run. It is a simulation: RUN commands appear in the trace but do not execute.
udevadm test --action=add $(udevadm info -q path -n /dev/sda)
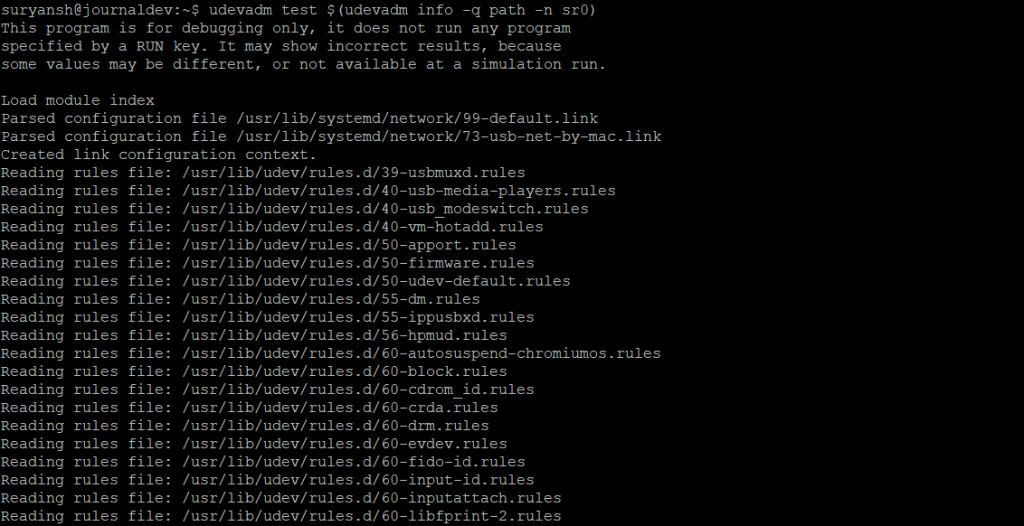
I verified the workflow end to end on this host: after placing a rule containing RUN+=”/usr/bin/touch /tmp/udev-sda-test” in /run/udev/rules.d, the test trace reported sda: …/91-sda-test.rules:1 RUN ‘/usr/bin/touch /tmp/udev-sda-test’, confirming the rule parses and matches without executing the command. Read the trace bottom up: the final lines show which node name and symlinks udev would produce, and any rule typo shows up as a parse error naming the exact file and line.
Check rule files with udevadm verify
Newer systemd builds add a dedicated syntax checker. Point udevadm verify at a rule file and it reports success or failure per file:
udevadm verify /etc/udev/rules.d/91-keyboard.rules

# a missing file reports clearly:
udevadm verify /nonexistent.rules
Failed to parse rules file /nonexistent.rules: No such file or directory
1 udev rules files have been checked.
  Success: 0
  Fail:    1
Run verify before udevadm control –reload and a syntax mistake never reaches the daemon at all. If your version lacks the subcommand, udevadm test catches the same parse errors as part of its trace.
Wait for a device with udevadm settle and wait
Scripts that act on storage right after boot need udev’s event queue to be empty first. udevadm settle blocks until pending events finish, then returns:
udevadm settle && echo "device queue drained"
For a specific device rather than the whole queue, udevadm wait blocks until one named device finishes processing. Both accept a –timeout so a script fails fast instead of hanging when hardware never arrives.
Conclusion
Each udevadm subcommand answers one debugging question: info tells you what udev knows, monitor shows events live, trigger replays them, test simulates rules, verify checks syntax, control manages the daemon, and settle or wait removes timing races. Chain them in that order when a device misbehaves and you will find the failing step within minutes. The full option reference lives in the udevadm man page on your own system, and if you are scripting around newly mounted storage, our guide to mounting CIFS shares picks up where udev leaves off.