
PING (Packet INternet Groper) is a network administration utility used to check the connectivity status between a source and a destination computer/device over an IP network. It also helps you assess the time it takes to send and receive a response from the network.
Basic Principles behind ping Command
Whenever there is a requirement to quickly check the status of a network connection or to check if the target Server is alive or not, we use the ping command to send ICMP (Internet Control Message Protocol) network packets to send and receive echo messages.
Other than to simply check if the server/network is alive or not, it can also be used to find the latency of the network, i.e, how long the server takes to respond to a client request and send a response packet back. This is often measured using what is called Round Trip Time (RTT). A lower RTT implies a faster network latency, and thus a very good connection.
An echo message is sent every second by default, and based on the arrival of the echo reply, suitable statistics are also displayed to the user, which contains information about the number of packets received and sent. This also shows the RTT, thus also giving the user an idea of the connection latency.
Now that we know about the basics of ping, let us apply it to various situations using the Linux Terminal.
Ping a network host/peer
We can use ping to check if a remote host/peer (hostname) is available, or not, using the following command.
ping hostname
We can also substitute an IP Address instead of a hostname since hostnames resolve to IP Addresses.
ping 127.0.0.1
The output will show the statistics of the ping transmission attempts.
Example:
root@Ubuntu:!/test# ping google.com
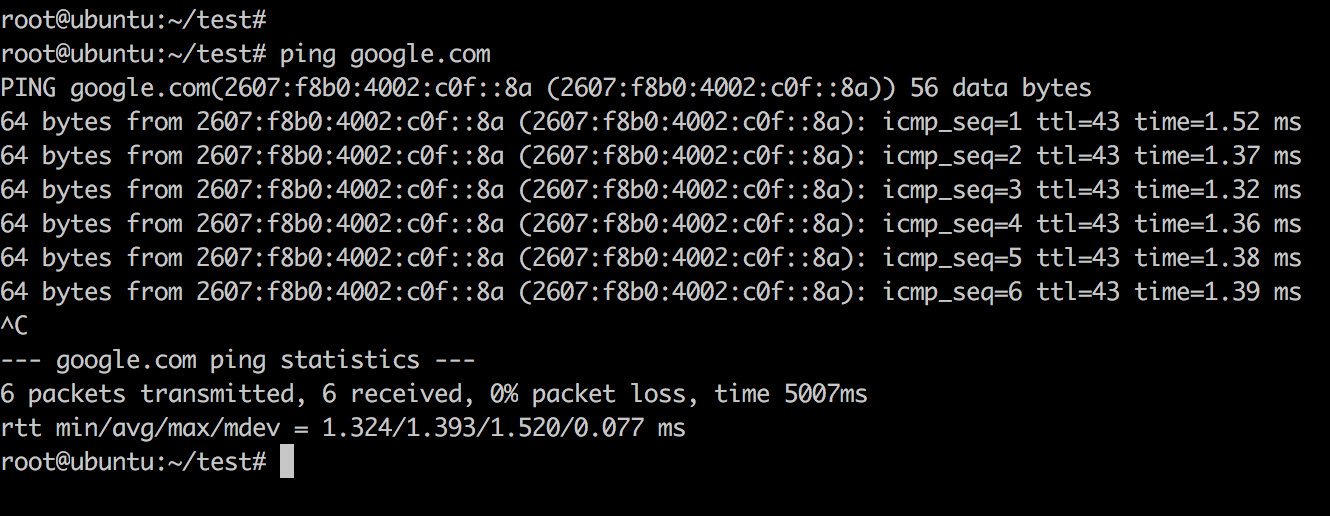
Note that this command never terminates by default, and must be terminated manually using signals such as Ctrl+C.
Increase time between echo requests
By default, as stated earlier, the time between two successive echo requests to be sent is 1 Second. If you want, to change this, you must specify the -i (interval) option.
Format: ping -i TIME hostname
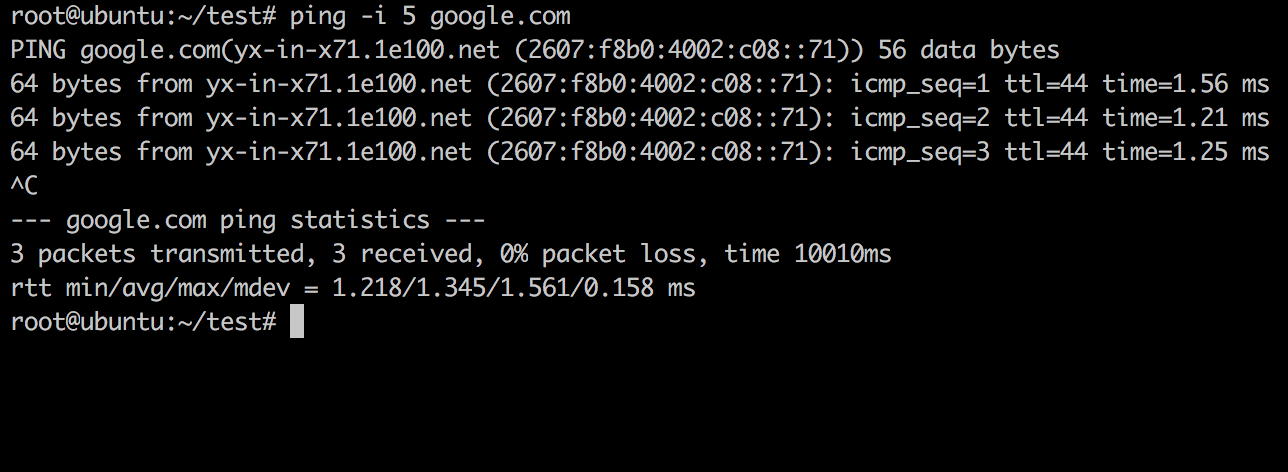
The below example shows a ping command with an interval of 5 Seconds between successive requests.
root@ubuntu:~/test# ping -i 5 google.com
Change the packet size of the ping Command
By default, the size of the ICMP packet is 56 bytes, as you can observe from the earlier outputs. To modify this, we can use the -s(size) option.
Format: ping -s SIZE hostname will ping hostname with a packet size of SIZE bytes.
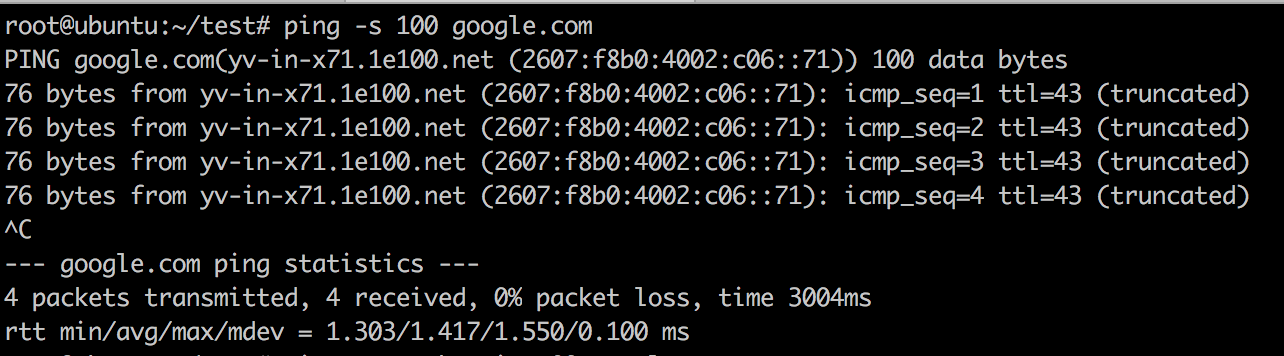
The below example pings a remote host using a packet size of 100 bytes.
root@ubuntu:~/test# ping -s 100 google.com
Send a definite number of packets
The default version of ping will keeps sending packets until it gets terminated. To avoid this, and to only send a limited amount of packets, we can specify the -c (count) option.
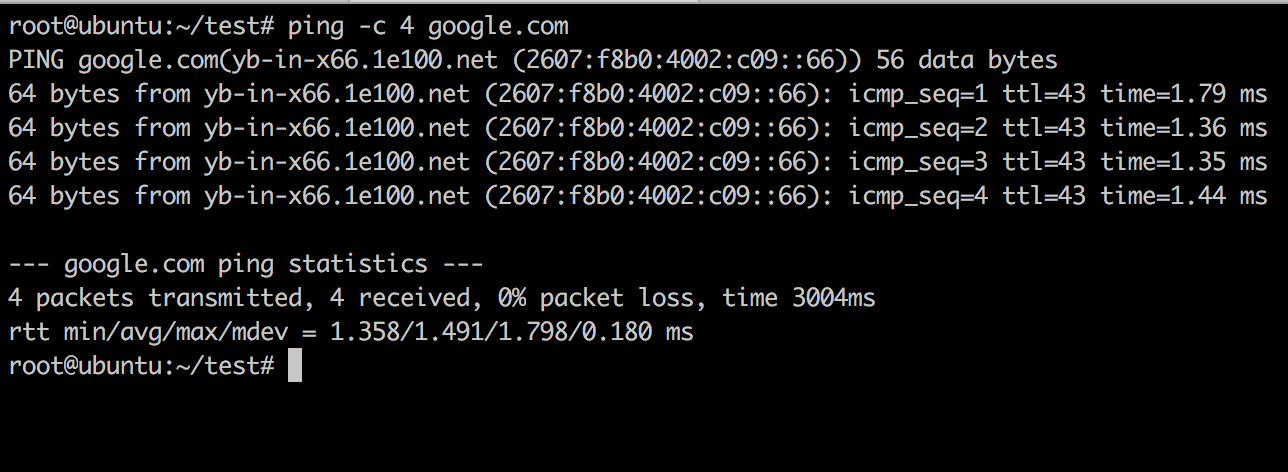
Format: ping -c count hostname will send count number of packets to hostname and then terminate.
root@Ubuntu:~/test# ping -c 4 google.com
Set a ping timeout
You can set a time limit after which ping will exit, no matter how many ping packets are sent or received, using -w timeout option.
Format: ping -w timeout hostname will use the timeout as timeout number of seconds.
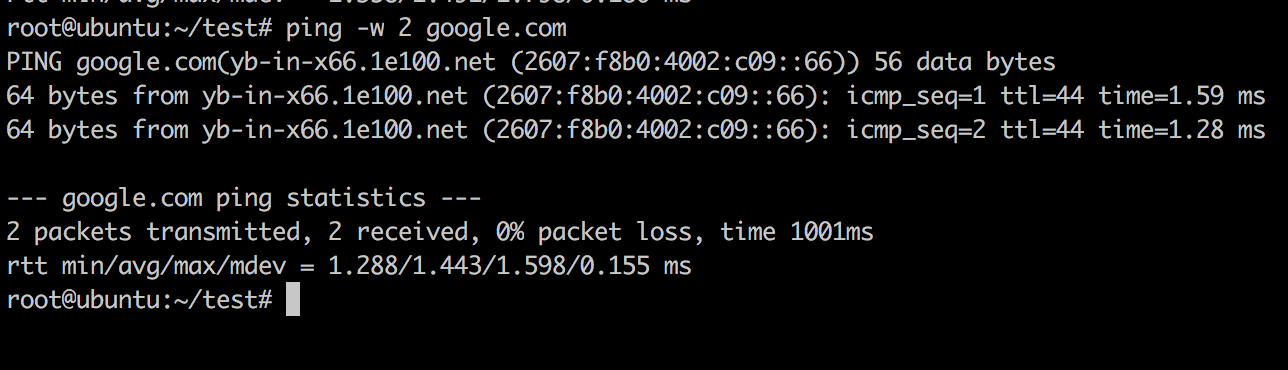
The below example uses a timeout of 2 seconds when pinging google.com, which means that after 3 seconds, it automatically terminates.
root@Ubuntu:~/test# ping -w 2 google.com
Flooding a network with ping requests
Linux ping command allows superusers (eg. When invoked with sudo) to send 100 or more packets per second through the following command:
sudo ping -f hostname
This could be useful to look at how servers could handle a large number of requests and also check for potential vulnerabilities in these types of scenarios.
WARNING: Do not use this command indiscriminately. Certain servers could block you if you send too many requests, so this must be only used sparingly.
root@Ubuntu:~/test# sudo ping -f google.com

Further Options
The list of options that ping takes, along with their function, is given in the below table.
| Option | Description |
| -a | Produces a beep sound when the peer/host is reachable |
| -b | Use this option to allow pinging a broadcast address |
| -B | Use this option if you do not want to allow the ping to change the source address of the probe |
| -c | Sets the number of times to send the ping request |
| -d | Sets the SO-DEBUG option on the socket being used |
| -f | Floods the network by sending hundred or more packets per second |
| -i | Specify an interval between successive packet transmissions |
| -I | Sets the source address to the specified interface address. This option is required when pinging the IPv6 link-local address. Its argument can be an IP address or name of the device. |
| -n | Displays the network addresses as numbers rather than as hostnames |
| -q | Quiet Output – Only the summary is displayed at startup and finish time |
| -T | Set the Time To Live (TTL) |
| -v | Verbose output |
| -w | Specify a timeout, in seconds, before ping exits, regardless of how many packets have been sent or received. |
Conclusion
In this article, we learned about the ping utility command, which is very useful to analyze the network/server status, and measures other useful statistics like latency, RTT, etc. We also learned about using this command using various options to send our requests and analyze them differently based on the option specified.