
There are many times when you want to record your screen. Sometimes there are in-built screen recorders but many times we use third-party software to record our screens. For Linux, you can use Blue Recorder.
Blue Recorder is a versatile screen recording tool for Linux, supporting multiple formats like MKV, AVI, MP4, and WMV. This article provides a comprehensive guide on installing and using Blue Recorder, including essential prerequisites and detailed steps for both Snap and Flatpak package managers. Customize your recording settings, select specific areas to record, and explore advanced options for video and audio quality.
Some of the features of Blue Recorder are:-
- The recording formats supported by Blue Recorder are namely- mkv, avi, mp4, wmv, gif, and nut.
- You can choose the audio input source for the recording.
- You can set default options for recording like resolution, frames, format, etc.
- You can select an area or a whole window for recording.
- You can disable audio or video during recording.
- You can change the directory where the recorded file is stored.
- It is a lightweight recorder and doesn’t consume a lot of your system resources.
- The recorder allows you to customise recording quality with options like video formats, video and audio bitrate, video codec, resolution, audio input, etc.
Prerequisites for Installing Blue Recorder on Linux
Some of the Prerequisites you should take care of before installing Blue Recorder on Linux are:-
- You should have sudo or root access to your system. Installing Blue Recorder requires administrative privileges.
- You should have a stable and fast internet connection for downloading.
- You should update your system and the package managers.
- There should be enough storage space for the application.
- Check if your Linux distro is supported by Blue Recorder. Most of the popular Linux distros are supported but you should check just to be sure.
- snap or flatpak package manager should be installed and configured in your system.
Step-by-Step Installation of Blue Recorder on Linux
Blue Recorded can be installed via snap or flatpak package manager. The steps of installation for each method are listed below.
Installing Blue Recorder on Linux via snap
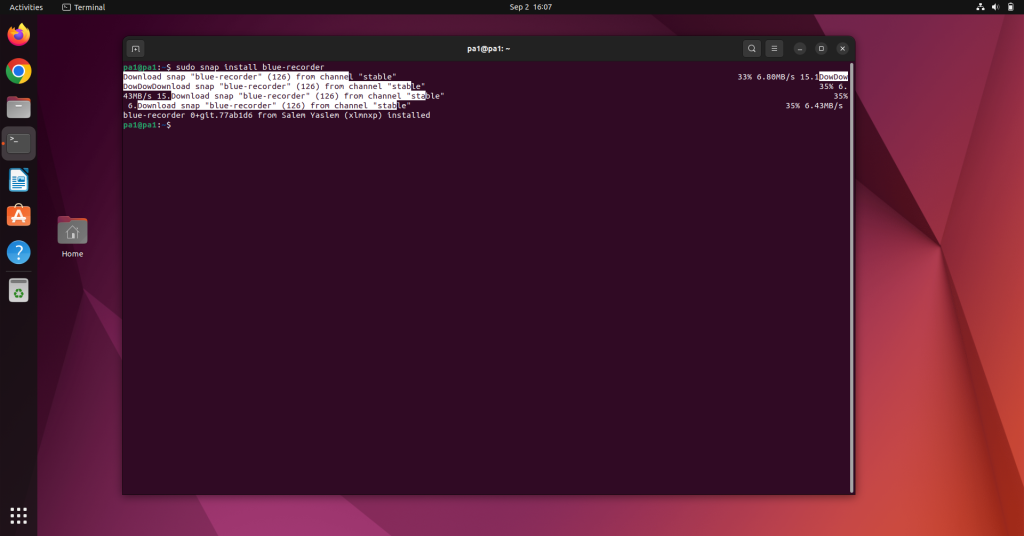
The Blue Recorder package is available on the snap package manager’s repositories. You can install it by the following command:-
sudo snap install blue-recorder
Installing Blue Recorder on Linux via flatpak
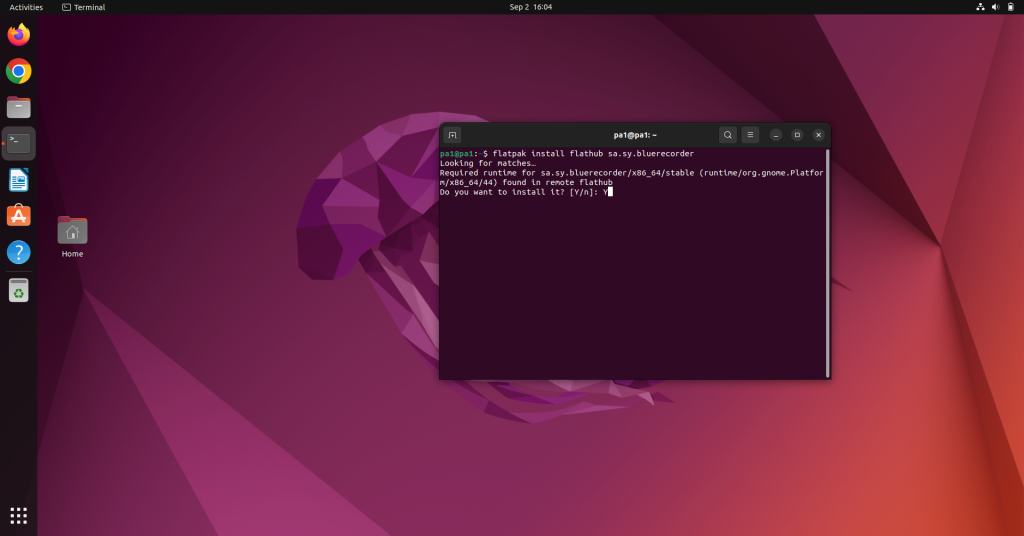
The Blue Recorder package is available on the flatpak package manager’s repositories. You can install it by the following command:-
flatpak install flathub sa.sy.bluerecorder -y
Launching Blue Recorder on Linux
You can run Blue Recorder by finding it in the applications list and running it from there. Or if you prefer the command line then you can use the following commands:-
If you’ve installed Blue Recorder via snap
blue-recorder
If you’ve installed Blue Recorder via flatpak:-
flatpak run sa.sy.bluerecorder
Initiating a Screen Recording with Blue Recorder
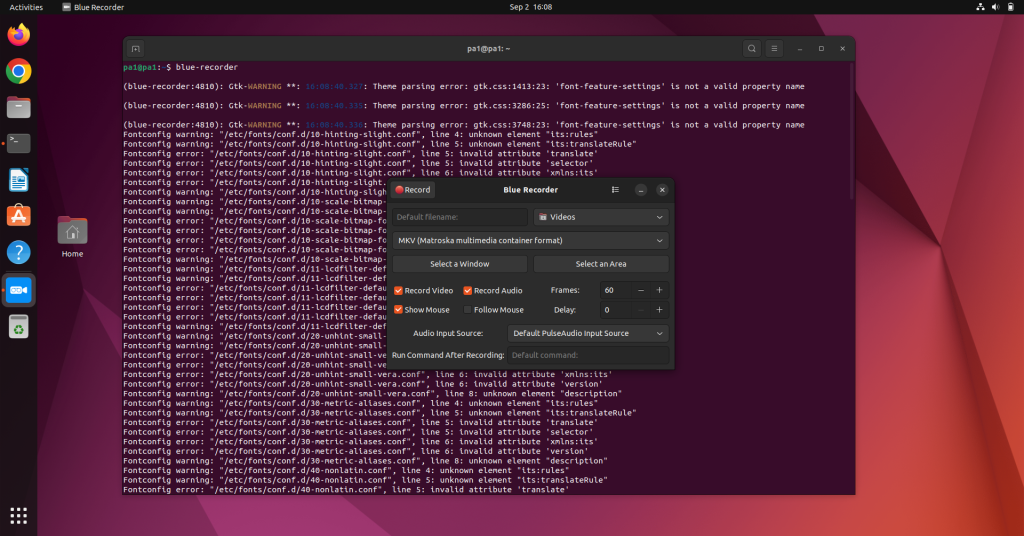
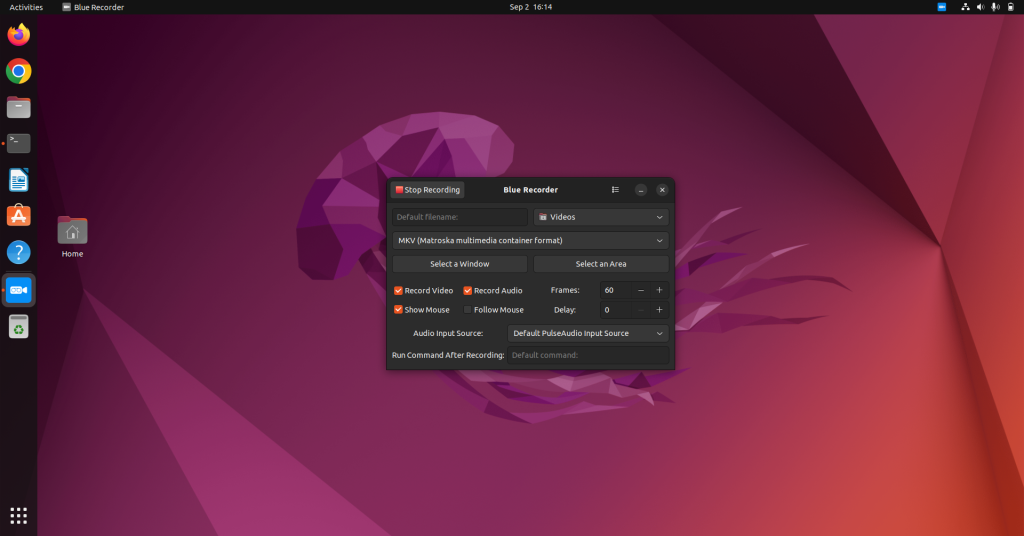
To record your screen simply open the App and click on the record button on the top left. It’ll start recording and the status will be shown just like in the following picture.
Customizing Your Screen Recording Area
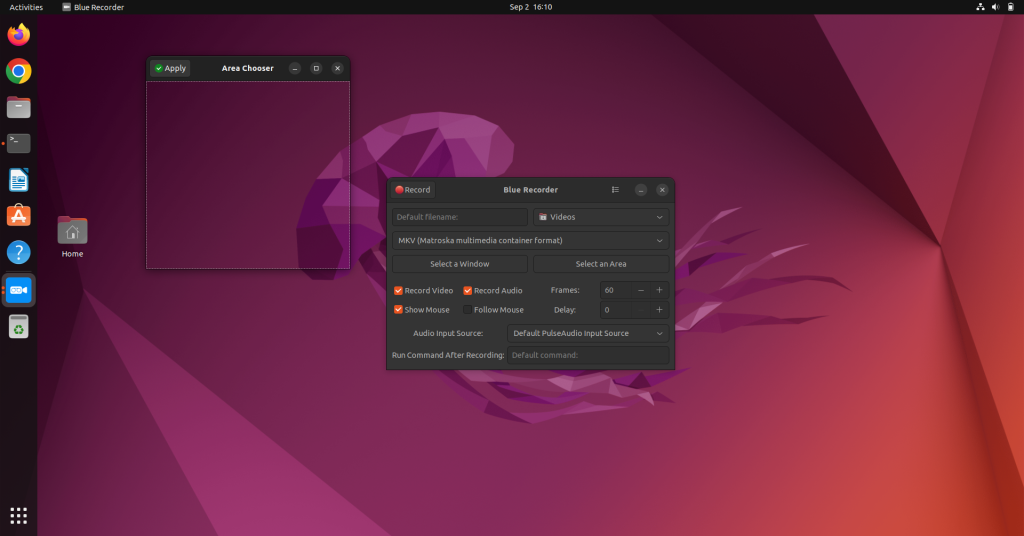
You can change the area of recording by using the “Select an Area” option. It’ll prompt you to select the area that you wish to record and then you can start recording. You can also select a particular window that you want to record.
Tweaking Video Quality Settings in Blue Recorder
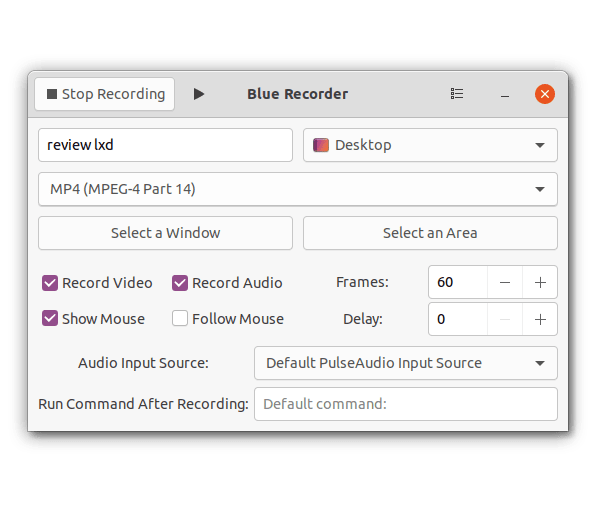
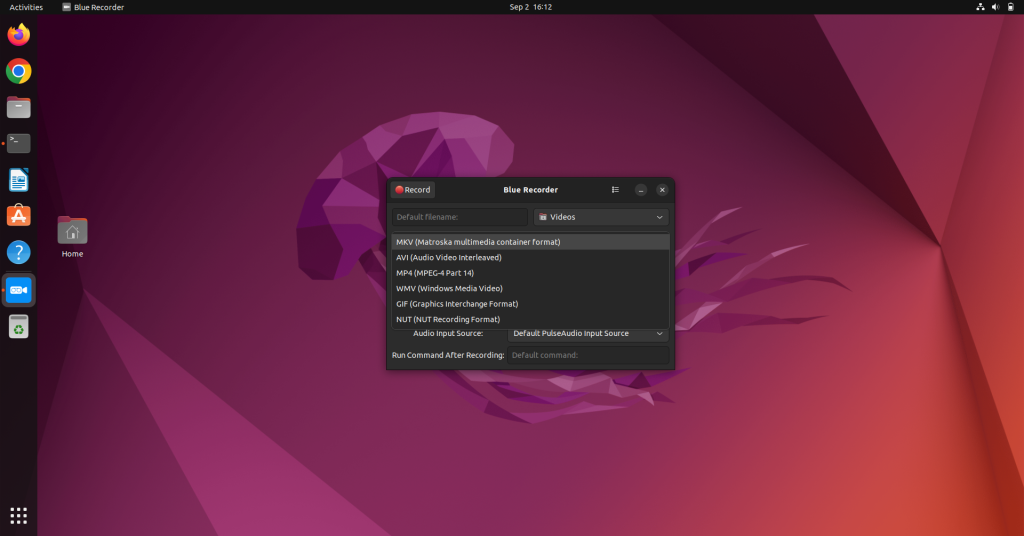
The video quality options are laid out straight away in the application. You can select the filename and beside it is the directory where the file should be stored. Then below it, you can select the format of the video. Blue Recorder supports formats like mkv, avi, mp4, wmv, gif, and nut. If you want only the audio then uncheck the record video option. Also, If you don’t want your mouse to be shown in the recording then you can uncheck show mouse option. The Delay option sets the delay after which the recording should start. The audio input source lets you change the input sources from the available options. This is helpful in case you want to record audio via a microphone or some other audio input device.
Stopping Your Screen Recording
When you’ve to stop recording right-click on the icon and choose stop recording. Or use the middle click of the mouse on the recording icon in the notifications. The middle click method does not work on all Linux distros so you may check before.
Final Thoughts on Using Blue Recorder for Linux
Blue Recorder offers a multitude of features that make it a go-to solution for Linux users who need an efficient, customizable screen recording tool. From tailored video quality to easy recording management, it stands out as a powerful tool for anyone looking to capture screen activities effortlessly. What other screen recording features would you love to see in future updates?