
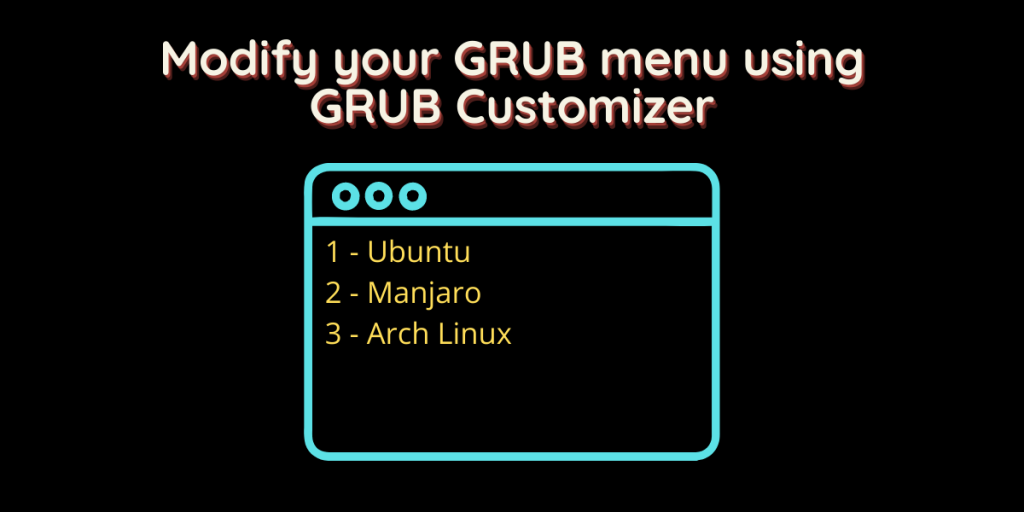
Whenever you first turn on your Linux PC, the bootloader starts all the ‘turning on’ processes such as kernel, etc. If your distribution already does not customize it, then it looks dull with a black background and a centered selection field. Like other parts of a Linux system, the GRUB Menu is also customizable.
Now, one way of doing it is in the terminal by editing various config files. But let’s be practical: from a beginner’s point of view, using Terminal and typing ‘code’ is very challenging. A person who has migrated from a macOS or Windows environment is more familiar with using Graphical tools to do any job.
This is where GRUB customizer comes in. It is a GUI app that allows users to change themes, customize fonts, change the boot order, background image, and many more settings. In this tutorial, I will show you the application’s installation process, and we will also try to customize our GRUB menu.
Also read: How to customize the loading time of the GRUB bootloader?
Installing GRUB customizer
Depending upon your Linux distribution, open a Terminal and type the following commands :
On Debian and Ubuntu-based distributions :
Type the following command in the Terminal:
sudo apt update && sudo apt install grub-customizer
You can install the application directly from the ‘Software Center’ in all the Ubuntu-based distributions, such as PopOS or Linux Mint.
On Arch Linux-based distributions
GRUB Customizer is available in the official arch repository, so you can install it using the Pacman package manager by typing :
sudo pacman -S grub-customizer

On Fedora Workstation
You can install the application using Gnome’s software center. Otherwise, you can type the following commands in the Terminal:
sudo dnf install grub-customizer
Start customizing
In the Terminal, type the following to launch the application :
sudo grub-customizer
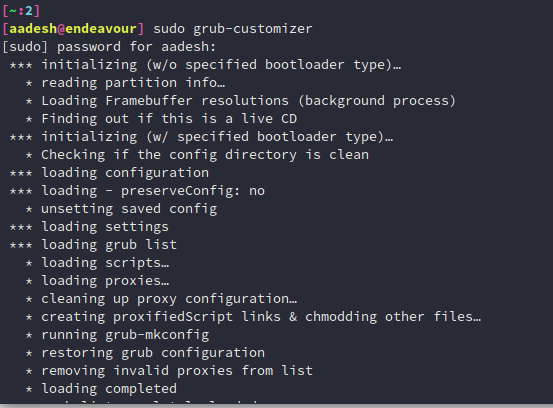
A window will open, and now we can start customizing various aspects of the grub menu.
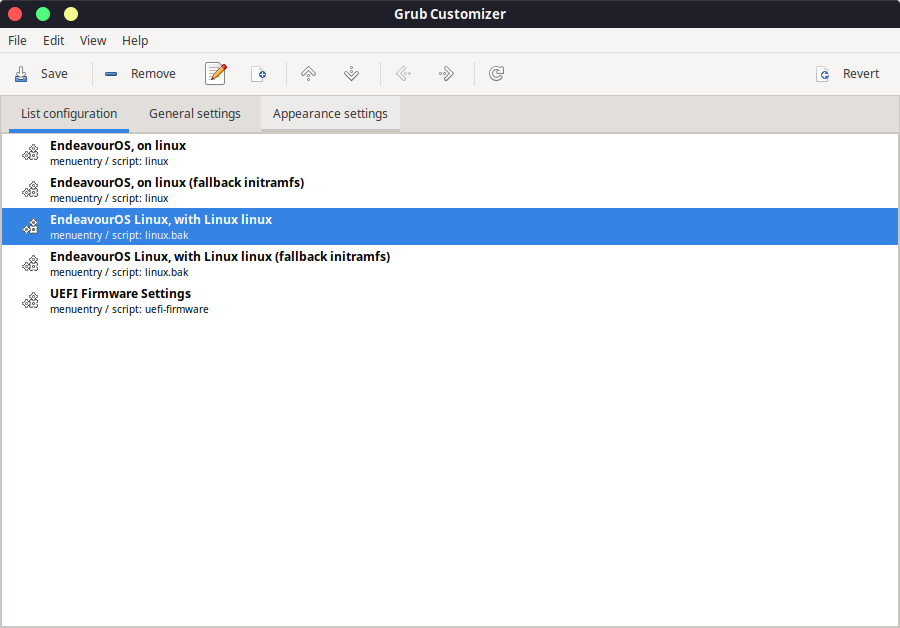
In the first ‘List Configuration’ tab, you can change the order in which the different OS or Kernels are listed. This is helpful if you have Windows installed along with any Linux-based OS, and you can choose which one should be booted when you press Enter. You can rename the entries mentioned here and change the boot order (Right-click to show the menu).
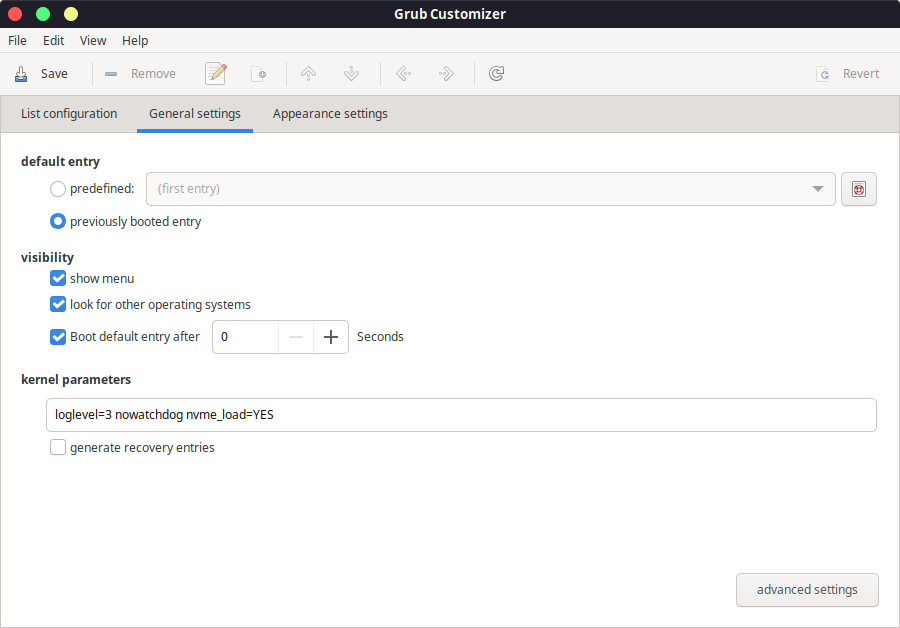
From the second ‘General settings tab, you can change various settings such as boot menu visibility and the time after which the default OS is booted. Here, you should enable the ‘previously booted entry’ option, this will ensure that the previously booted OS is selected as default after an update (Especially Windows update, since during this process, the PC restarts several times).
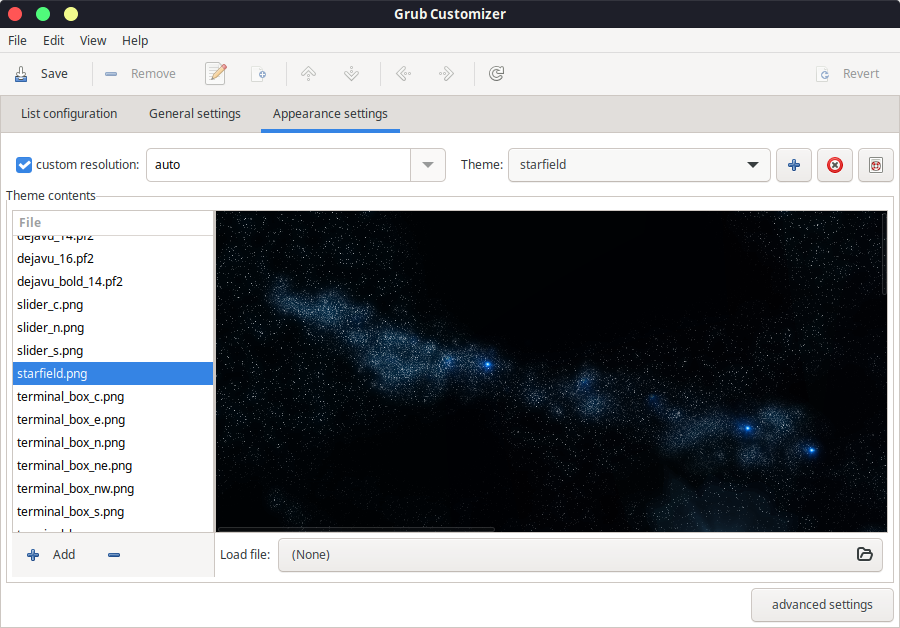
The 3rd tab contains all the settings to customize your GRUB Menu appearance, change background pictures, fonts, etc. Whatever settings you modify, make sure that you click on the Save button on the top left before exiting the application.
FAQs
What is Grub Customizer?
Grub Customizer is a graphical tool for managing the GRUB bootloader. It allows users to easily customize the GRUB menu and settings.
How can I install Grub Customizer on Ubuntu 20.04?
To install Grub Customizer on Ubuntu 20.04, you can use the following command: sudo add-apt-repository ppa:danielrichter2007/grub-customizer && sudo apt update && sudo apt install grub-customizer.
Can I remove Grub Customizer from my system?
Yes, you can uninstall Grub Customizer from your system using the following command: sudo apt remove grub-customizer
What are some of the features of Grub Customizer?
Grub Customizer allows users to configure the GRUB menu, change boot options, customize text colors, tweak boot parameters, and more.
How can I customize the appearance of the GRUB menu using Grub Customizer?
Users can customize the appearance of the GRUB menu, including the background image, text color, and other cosmetic configurations using Grub Customizer.
Can I use Grub Customizer to manage multiple operating systems on my computer?
Grub Customizer allows users to configure and manage multiple operating systems and their boot options from a single interface.
Is Grub Customizer compatible with Ubuntu 22.04?
Yes, Grub Customizer is compatible with Ubuntu 22.04 and can be used to customize the GRUB menu on this version of Ubuntu.
How can I remove the boot time delay using Grub Customizer?
Using Grub Customizer, users can remove the boot time delay by configuring the timeout value in the GRUB settings.
Can I use Grub Customizer to set kernel parameters?
Grub Customizer allows users to set kernel parameters and customize the default entry for the GRUB bootloader.
Is it possible to backup and restore GRUB settings using Grub Customizer?
Yes, users can backup and restore GRUB settings, including configurations and customizations, using Grub Customizer.
Summary
You can always do all the above cool customizations directly from the Terminal. Still, the GRUB customizer, as I said, makes it easy for beginners and GUI enthusiasts to change the look and feel of our good old GRUB menu. Not only that, but you can also change various other settings using the ‘advanced settings’ menu mentioned at the bottom, but I will recommend you do a thorough reading before you change any advanced parameters.
References
GRUB Customizer – Official Page