
In this article, we’ll look at how we can install the Laravel framework on our Ubuntu system in just a few steps! Let’s get started. Laravel is a free and open-source PHP web application framework that is used to build a wide range of scalable web applications and APIs.
Step 1: Install Laravel Prerequisites
Since Laravel is a PHP framework, we need to have PHP installed. The latest version of Laravel recommends using PHP 7.2.
Laravel can also use any of Ngnix, Apache, etc as it’s web server. We will be using it along with the Apache Web server, but you can stick to Nginx as well.
It also has Composer as it’s a dependency, so we’ll be installing that too.
So, our list of prerequisites are:
- PHP >= 7.2
- Apache Web Server
- Composer package manager
But first, let’s update our system!
sudo apt update
sudo apt upgrade
Let’s now install the Apache Web Server, if we haven’t done so already!
Step 2: Install PHP
We’ll install this from the public third-party repository. So, we need to manually add it to our system repositories, since we’ll then be able to update PHP along with our system!
sudo add-apt-repository ppa:ondrej/php
After typing this, you’ll get the following as your output.
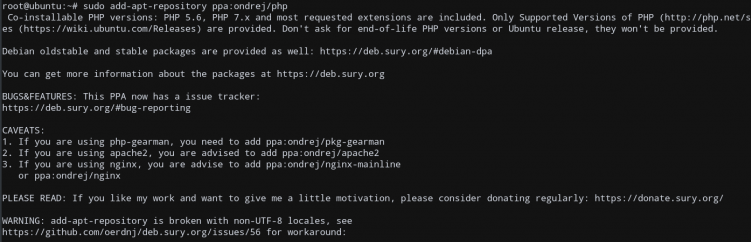
Now that we’ve added the PHP repository, let’s install Composer
Now, let’s install the last dependency; Composer.
Step 3: Install Composer
We’ll use the script that the documentation provides us with to install it.
We need to have a system-wide link, so go to /usr/local/bin, as the binaries need to be stored there. You can now run the below command from that directory.
cd /usr/local/bin
sudo php -r "copy('https://getcomposer.org/installer', 'composer-setup.php');"
sudo php -r "if (hash_file('sha384', 'composer-setup.php') === 'e0012edf3e80b6978849f5eff0d4b4e4c79ff1609dd1e613307e16318854d24ae64f26d17af3ef0bf7cfb710ca74755a') { echo 'Installer verified'; } else { echo 'Installer corrupt'; unlink('composer-setup.php'); } echo PHP_EOL;"
sudo php composer-setup.php
sudo php -r "unlink('composer-setup.php');"
If you’ve done it correctly, the Installer verified prompt will appear, indicating that you’ve successfully installed Composer!

There’s still one small thing left to do. This installation will install composer as composer.phar. To change it to composer, simply rename the executable at /usr/local/bin!
sudo mv /usr/local/bin/composer.phar /usr/local/bin/composer
To test that Composer is working, the below command must print its version.
composer --version

Now that we’ve installed all of Laravel’s prerequisites, let’s finally install the package.
Step 4: Install the Laravel Framework
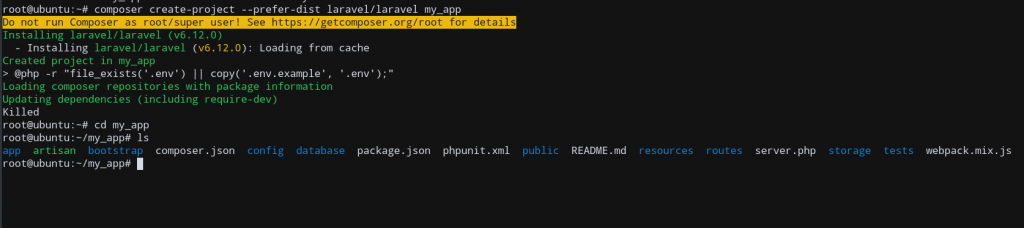
We need to create a project with composer and install Laravel using the create-project command.
If your destination folder for your application is ~/my_app, go to that directory and install Laravel using the below command.
cd ~
composer create-project --prefer-dist laravel/laravel my_app
This will handle installing Laravel for you automatically!
Let’s now test it, by running it using PHP.
Step 5: Test the Laravel Installation
Navigate to ~/my_app, the place where your application folder is.
Now, run the below command:
cd ~/my_app
php artisan serve
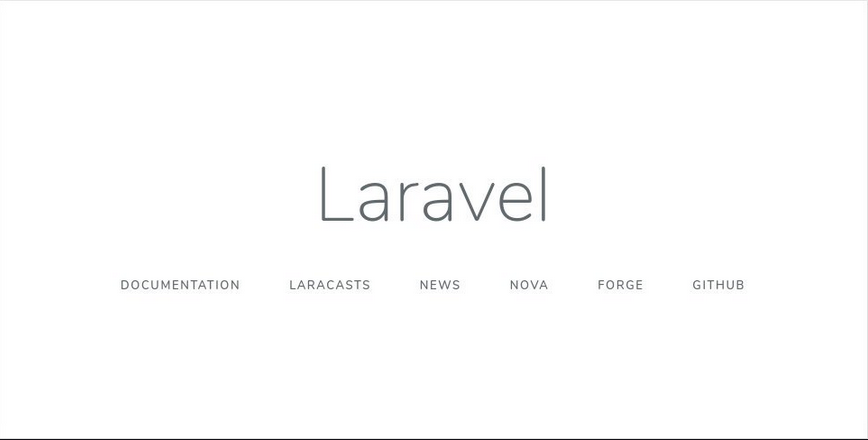
Your output will look like this, indicating that the Larvel server has started.
Laravel development server started: <http://127.0.0.1:8000>
This means that the server is running, and is using port 8000. Let’s go to our local browser and test it out!
http://127.0.0.1:8000
Conclusion
Hopefully, you’ve figured out how to run Larvel by this time. If you haven’t do ask queries on the comment section below!