
Do you find yourself needing to convert or add images to PDF documents frequently? If so, you’re not alone. There are plenty of online tools that can help you get the job done quickly and easily. However, if you’re concerned about privacy, you may be interested in knowing that you can achieve the same results using Command Line tools in the Terminal. In this article, we’ll discuss two of the most popular options: ImageMagick and Img2PDF.
Convert Image to PDF using ImageMagick
ImageMagick is an awesome open-source command-line tool that is perfect for our needs. It can utilize multiple threads of the CPU directly, which speeds up the process significantly. To install this powerful tool on Ubuntu Linux, all you need to do is open a Terminal and type in the following command:
sudo apt update && sudo apt install imagemagick -y
In Arch Linux and Arch-Based distributions, type:
sudo pacman -S imagemagick
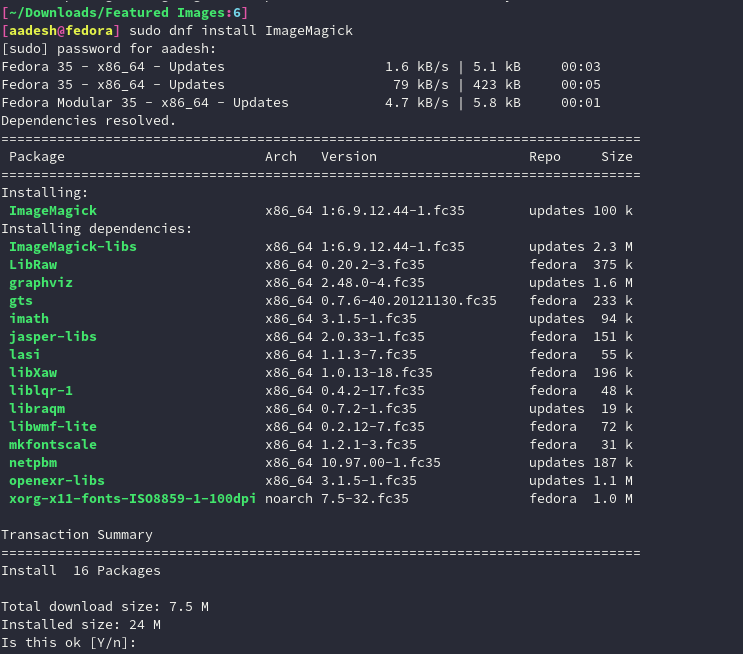
On Fedora Workstation, type the following commands:
sudo dnf install ImageMagick
Now that we have installed the tool, let’s see how this CLI tool works.
First, move into the directory where you have stored all the images, and list all the images.
cd ~/Downloads/Featured.Images && ls
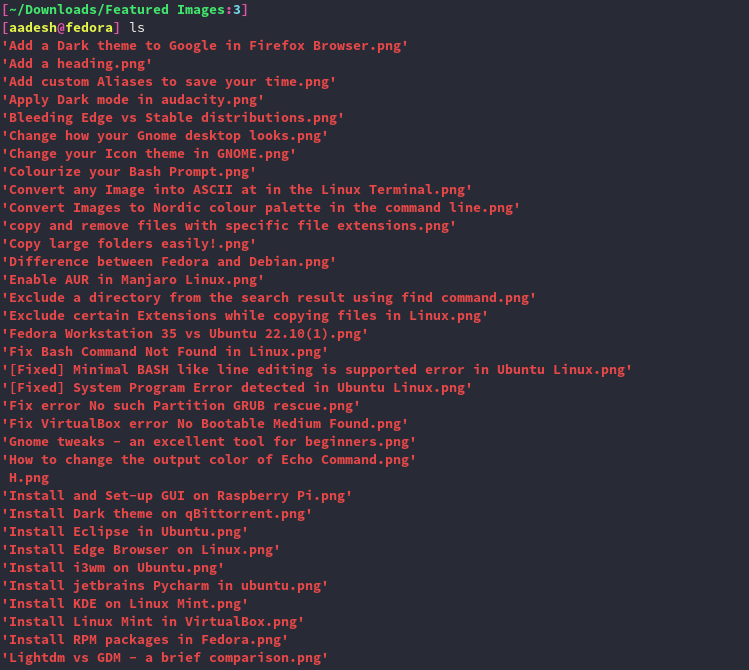
As we can see, all the images I have in this directory are PNG files. Let’s say I want to add all the images in a PDF document named Featured-Images.pdf, I will type the following commands:
convert *.png Featured-Images.pdf

But let’s say you only want to convert a few images to a PDF, then you can list out individual images instead of the *.png attribute like this:
convert image1.png image2.png image3.png IMAGES.pdf
A big disadvantage of ImageMagick is that it reduces the quality of all the images in the PDF document, and therefore you don’t get the full resolution of images in the resulting PDF. In order to tackle this issue, we can use another tool named Img2PDF tool.
Convert Image to PDF using Img2PDF
Img2PDF is another open-source tool that you can use to convert images to PDF efficiently without losing the quality of the Image. First, let’s install the CLI tool on Ubuntu using this command :
sudo apt install img2pdf
In other distributions, you can install it with pip if you already have python3-pip package installed. Type the following command in the terminal:
pip install img2pdf

Great! Now that we have the command installed, we can use it to convert our images to PDF. Once again, go into the directory where you have placed all the images and type the following command :
img2pdf image1.png -o PDF_File.pdf
And if you want to convert multiple images to PDF, again add the image name successively like image1.png, image2.png, and so on. Otherwise, simply use the *.png shorthand like this:
img2pdf *.png -o PDF_File.pdf
Use the following command to see if any PDF document has been created in the current directory.
ls | grep .pdf

Summary
So, there you have it. If you need to convert an image to PDF, you now know which tool to use depending on your needs. ImageMagick is a great all-around tool, but if you want to keep your images looking sharp, img2pdf is the way to go. Whichever tool you choose, we hope this article has helped you out. Happy converting!