

Musescore is a music notation software. It is used to write, arrange, and playback midi music from the written pieces. Composers can use the software to hear while composing without even touching their instruments. Novices, on the other hand, can quickly write down their practices and notes here.
It is one of the most popular and most-used musical software out there. So let’s get started with the installation first!
Installing Musescore
The latest available version of Musescore is 3.6.2 on the official website. If you download using the terminal in Ubuntu you might get quite an outdated version. But you can still run that if you only want music notation software. Still, it is recommended to install it right from the official website.
To do that, head over to the official website and click on the Download button.
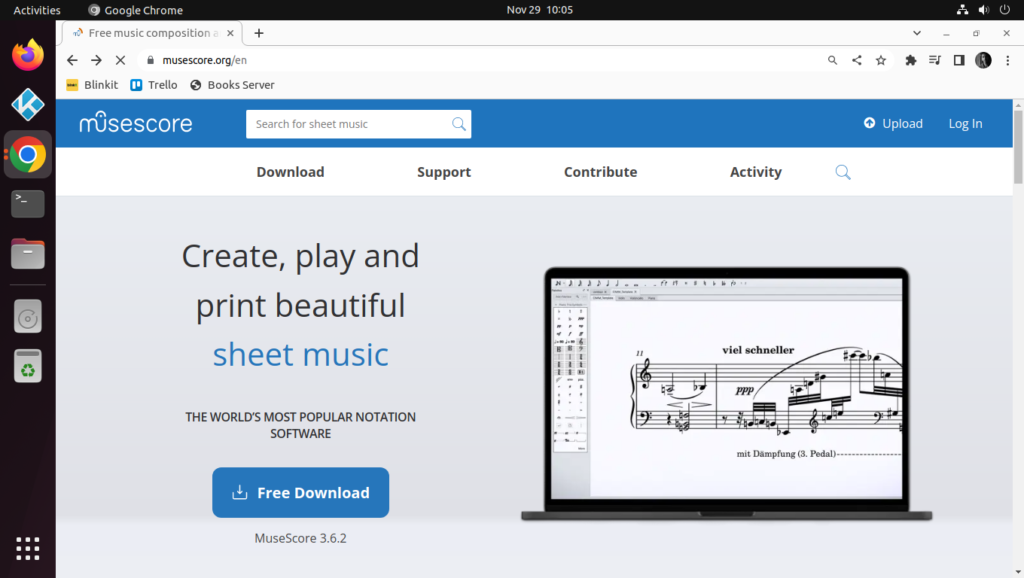
It’ll take you to the downloads page where you can choose the distribution for which you are installing Musescore. We’ll choose Linux and download the Appimage.

If you are also using Linux, download the Appimage and right-click on it, go to Permissions and tick the box “Allow executing file as program”.
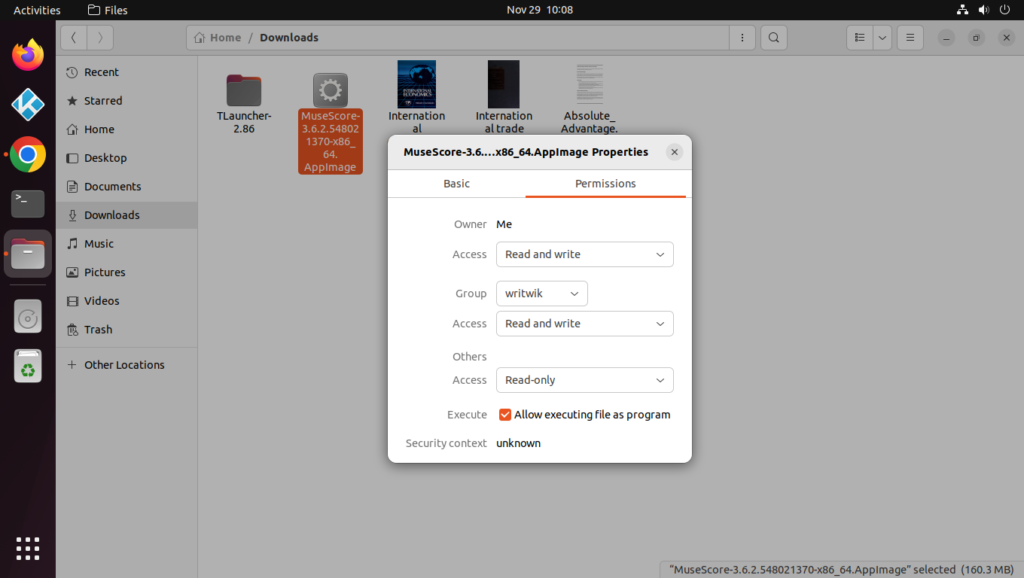
Now, simply double-click the file to launch it!
Get started with Score setup
The first thing you will see when you open up Musescroe is the Start Center. You can create a new file there, or work on any pre-existing recently worked files. Another good thing is that you can search the online community for existing song notations.
There is a wide community of music enthusiasts updating and writing notations for popular songs all over the world, and it can be accessed for free if you have an account at Musescore.
However some of the sheet notations might be paid, generally, they are for more advanced players, and it also helps out the community and encourages them to write more sheet notations.
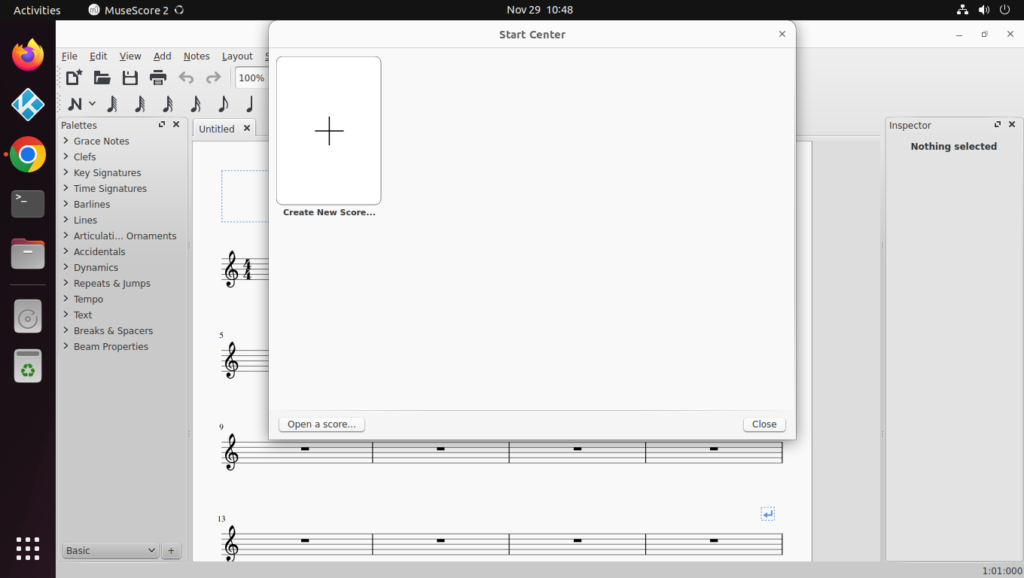
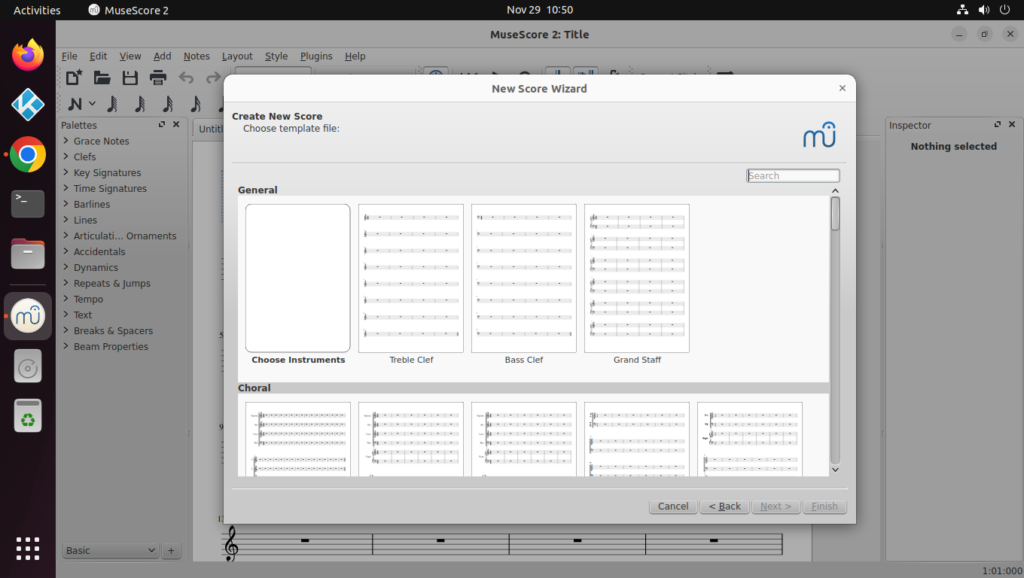
To create a new score, click on the button. Now a new dialogue box will open up asking you about all the details of the score, all of this can be edited later also. So go ahead and fill that out and click on Next. Here you will have to choose the clef that you’ll be using. We’ll go basic and choose the Treble Clef.
Next, we’ll have the option to choose the key of the notation. We’ll go with C major as it does not have any sharps or flats and keeps things simple.

Next, you can choose the time signature of the notation. We’ll go simple with the 4-4 time signature.
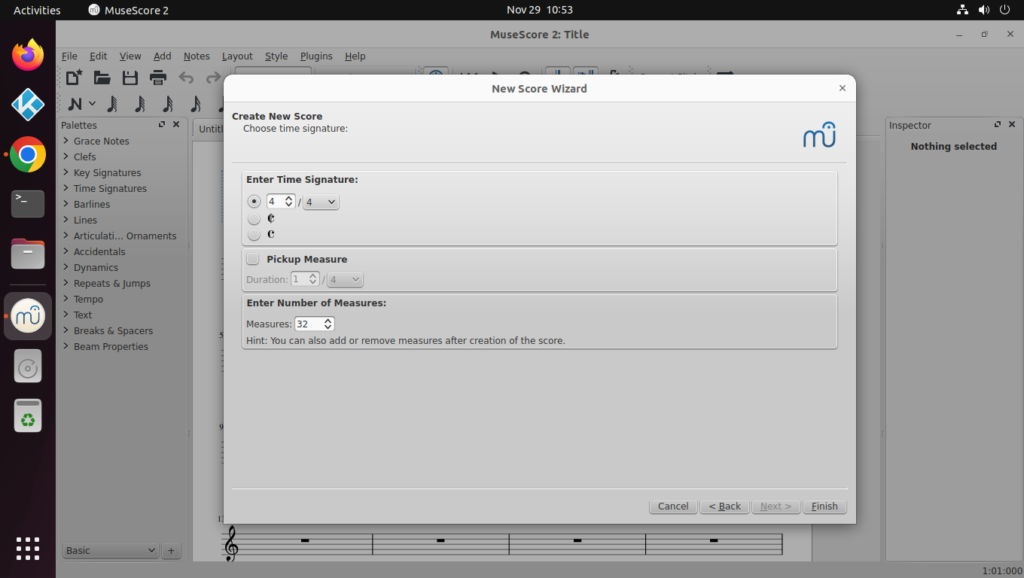
Finally, our score setup is done! The result is as follows:
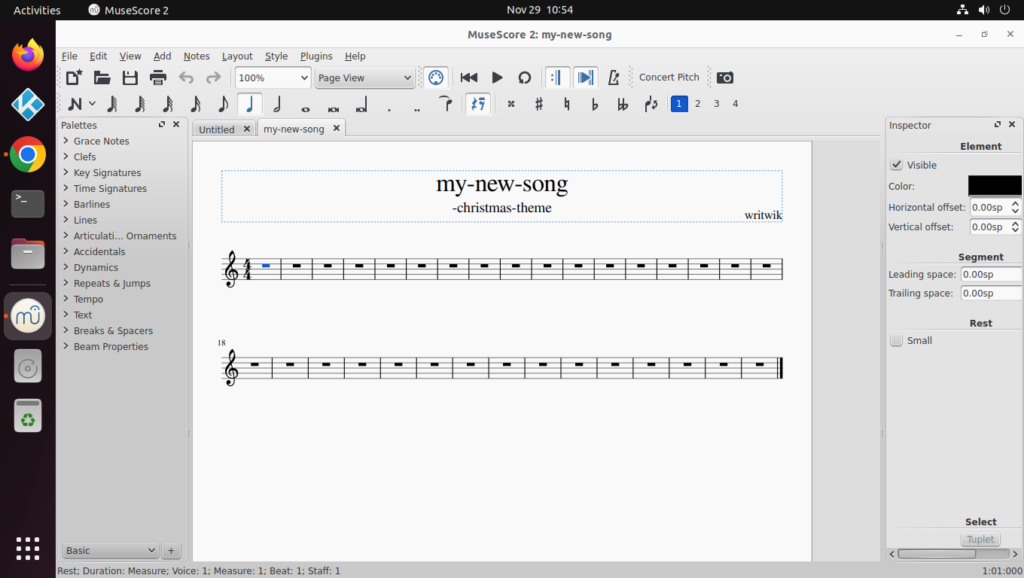
In addition to being a great tool for creating musical notation, Musescore also supports guitar tab notation. You can also export audio files from your notation, allowing you to listen to your music even when you are away from your instrument.
Musescore also allows you to customize the notation’s look and feel, giving you the freedom to make your music look exactly the way you want it to.
Create your first notation using Musecore on Linux
Now let’s get cracking with writing some music! Let’s take a look at the tools first. You’ll notice that you have a zoom level selector so go ahead and set that up according to your preference. Now to input notes you have the note with the N symbol at the top left of the screen. Click on that and then if you hover over the notation, you will be able to put on notes!
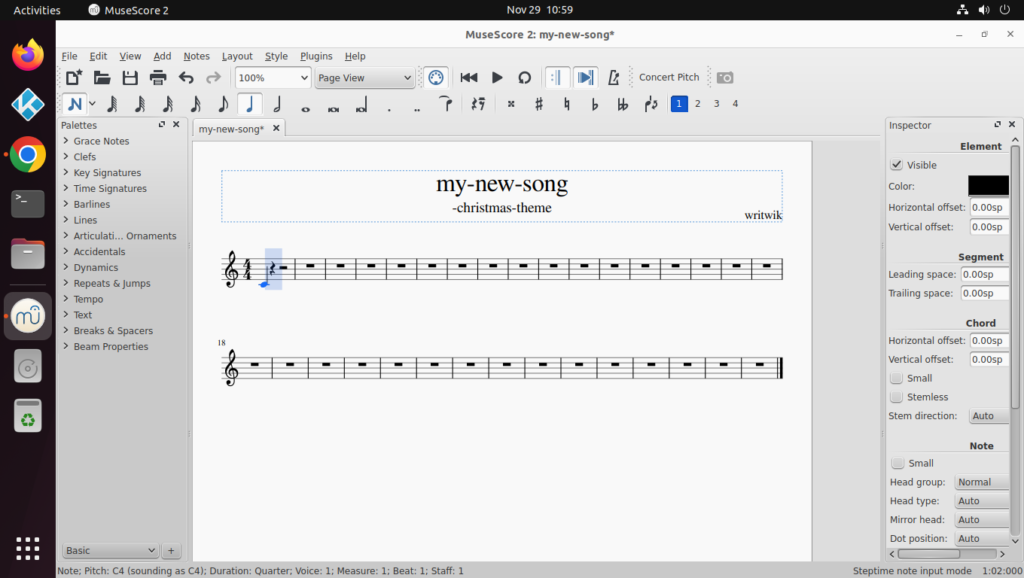
Musescore is quite intelligent in the sense that it’ll auto-fill the other rests for your notation, for the next note just clicks on top f the rest symbol and that will be replaced by the note you clicked on. It also plays the notes as you click on them to create notes.
Also, you can use the right and left arrow keys to move around and hear the notes. To delete a note go over to the note and press the Delete key or just click on the same note.
For different time values of notes, you can click and select them from the top panel. For playback, you simply get out of the Note Input mode and click on the note from where you want a playback, and click on the playback button at the top of the screen.

When you are done editing your notes, you can save the file with the mcsz or the mscx extension and even export it as a pdf file.
Final thoughts
Now that you have the basics of writing notation in Musescore, get on with it and enjoy your Christmas with your own music. Hope you guys liked this article and as always thanks for reading!