

Jellyfin is a free and open source media server through which you can play locally stored movies or web series on a Web browser, on Android or Smart TV with the help of an application. If you have heard of Plex or Emby before, then Jellyfun serves the exact same purpose as them but with Free and Open Source code.
Unlike Plex, you are not required to pay to them in order to use the mobile-application without ads. And thus, none of the features are locked behind a paywall, you are the complete owner of your movies.
However, before you install the application on your devices, you should create your own server first. The Jellyfin server can be installed on any PC or a Raspberry Pi connected to the local network. And in this tutorial, we will try to install it on a Raspberry Pi running the latest Debian 12 OS, but you can follow the same guide for any other piece of hardware running the same Debian or Ubuntu OS.
Prerequisites
Before you proceed with the guide, we will need to make sure that we meet the basic requirements for a seamless streaming experience.
- You will need to set a static IP address on your Linux device. This is really easy and can be done by following this simple guide.
- A connection with the PC: Either you need physical access to the PC using a Keyboard or Mouse, or you need to access the PC using SSH
- You will also need an HDD or SSD attached to the PC where we can store our Movie files.
- A PC or Raspberry Pi with a processor strong enough to encode and decode the Movie files.
Installing Jellyfin on Debian
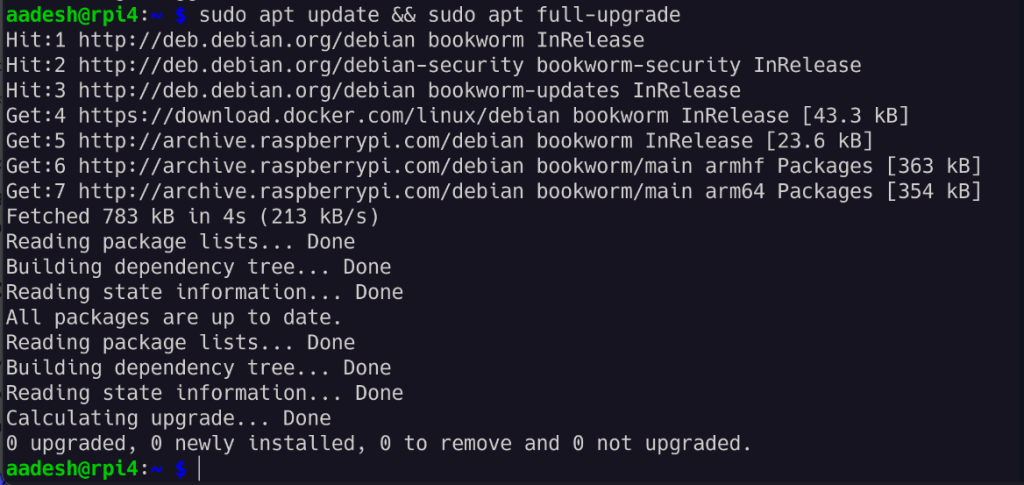
First of all, fully upgrade your system so that you don’t have to face any kind of dependency mismatch. To update your system, run the following commands in your Terminal window:
sudo apt update && sudo apt full-upgrade
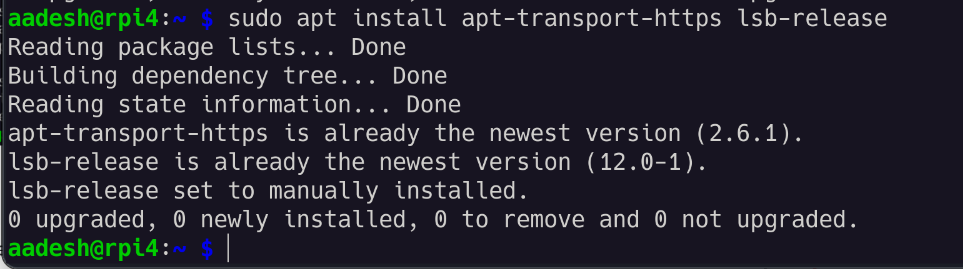
Now, we will have to install a few packages which will enable HTTPS support for repositories through which we will be able to access the Jellyfin package repository. Just type the following commands in your Terminal:
sudo apt install apt-transport-https lsb-release
Now, we will import the GPG signing key of Jellyfin from the servers. Just run the following commands:
curl https://repo.jellyfin.org/debian/jellyfin_team.gpg.key | gpg --dearmor | sudo tee /usr/share/keyrings/jellyfin-archive-keyring.gpg >/dev/null

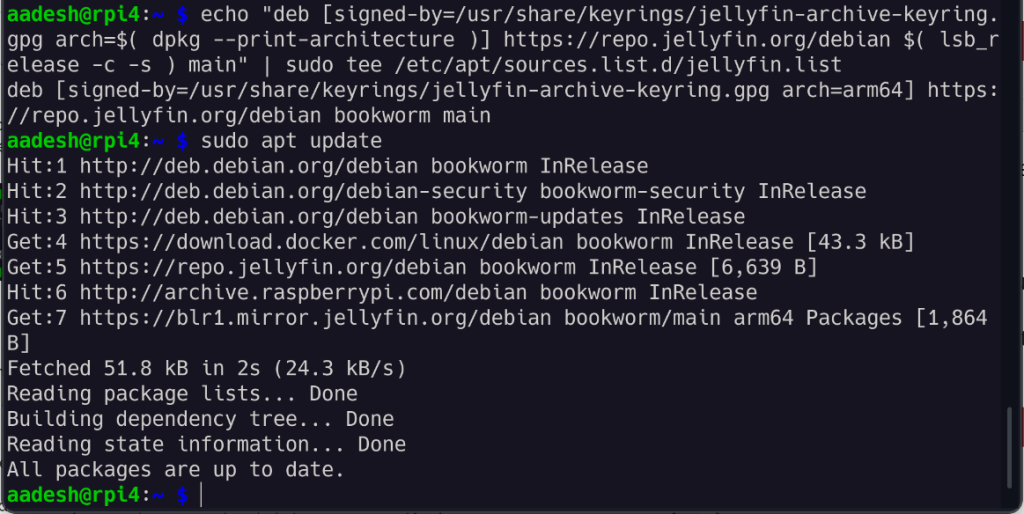
Now, finally, we can just add the Jellyfin repository to the apt command. In the terminal, copy-paste the following:
echo "deb [signed-by=/usr/share/keyrings/jellyfin-archive-keyring.gpg arch=$( dpkg --print-architecture )] https://repo.jellyfin.org/debian $( lsb_release -c -s ) main" | sudo tee /etc/apt/sources.list.d/jellyfin.list

# And now, refresh the repository again
sudo apt update
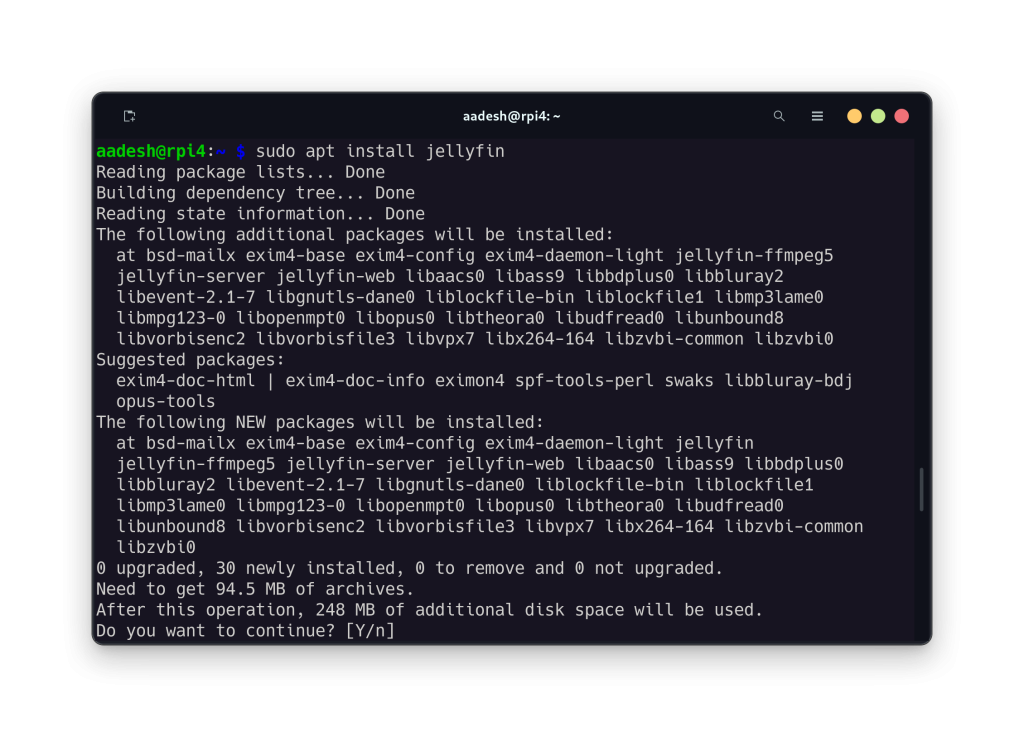
Finally, we can just install the server:
sudo apt install jellyfin
Post Installation Setup
Now that we have installed Jellyfin on our PC/Raspberry Pi, we need to do a few things from the web interface. Open a web browser and type the IP address of your PC/Pi and then add :8096 at the end of it, and you will be redirected to the Jellyfin welcome page. If you are not sure what’s the IP of your PC then just run hostname -I in your terminal window.
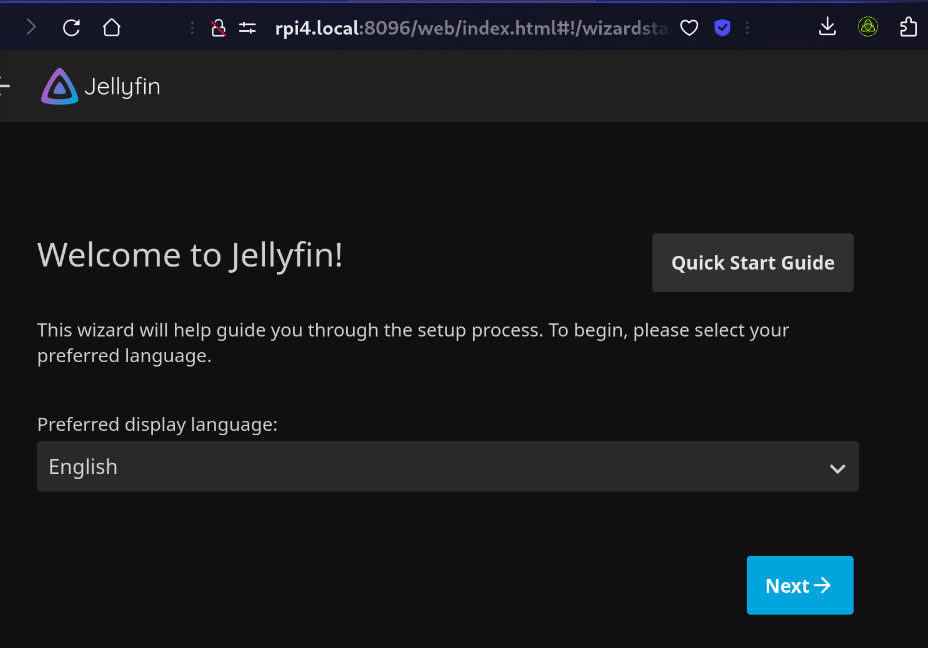
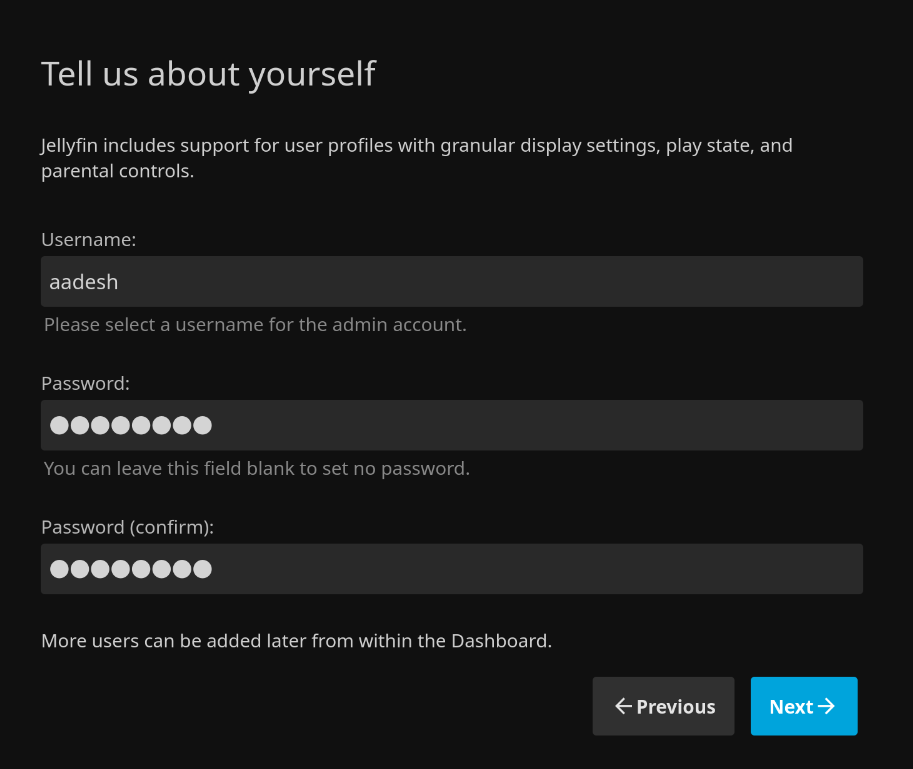
Just select your preferred language and go to the next page. Now, you will be asked to create a Username and Password.
Finally, you can allow Jellyfin to scan the directories where you have stored the Movies and Web Series on your PC.
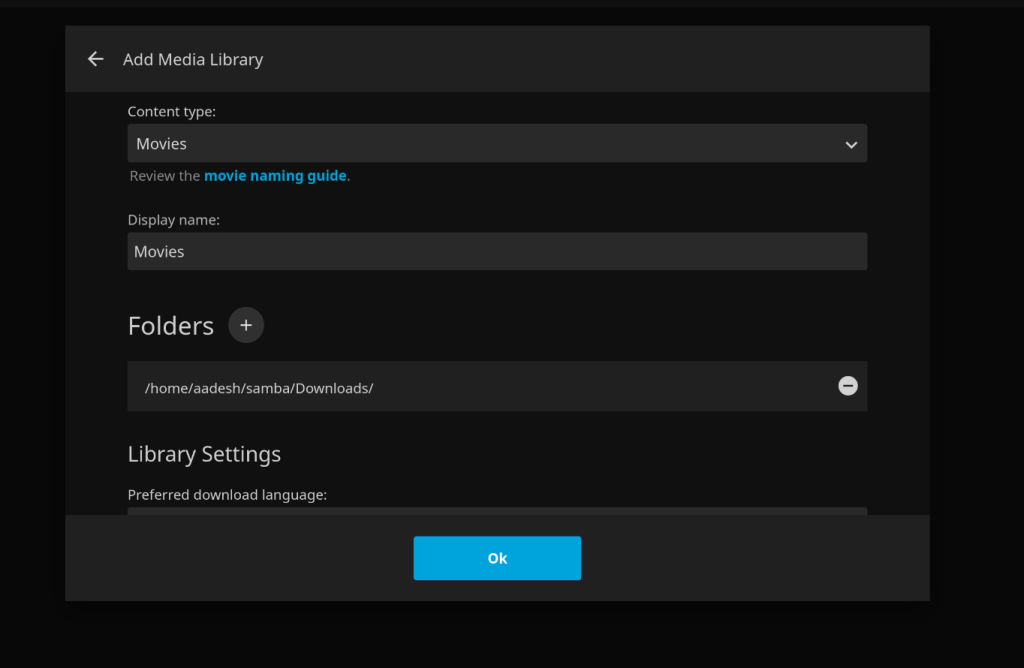
As you can see, I have added the directories where I will keep my media files. Jellyfin will automatically scan the directory and add it to the main Interface.
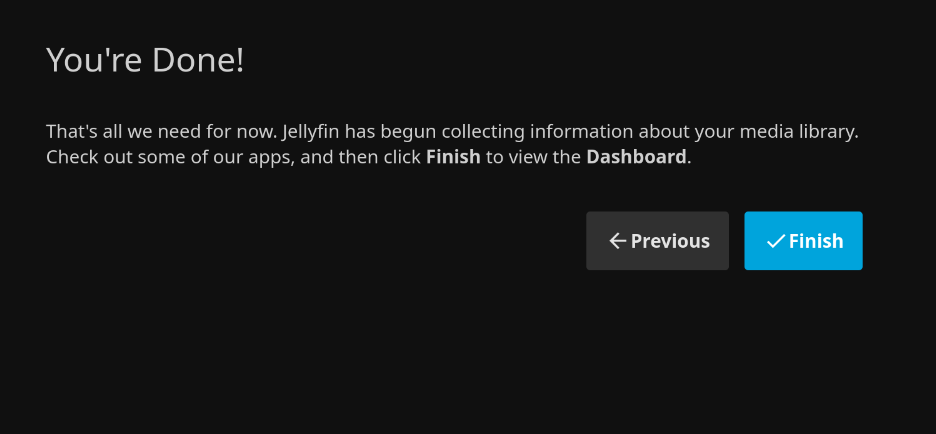
Now, you will see the Homepage of Jellyfin, we have to tweak a few settings in order to achieve the perfect streaming setup. From the homepage, go to the settings menu and open ‘Playback Settings’.
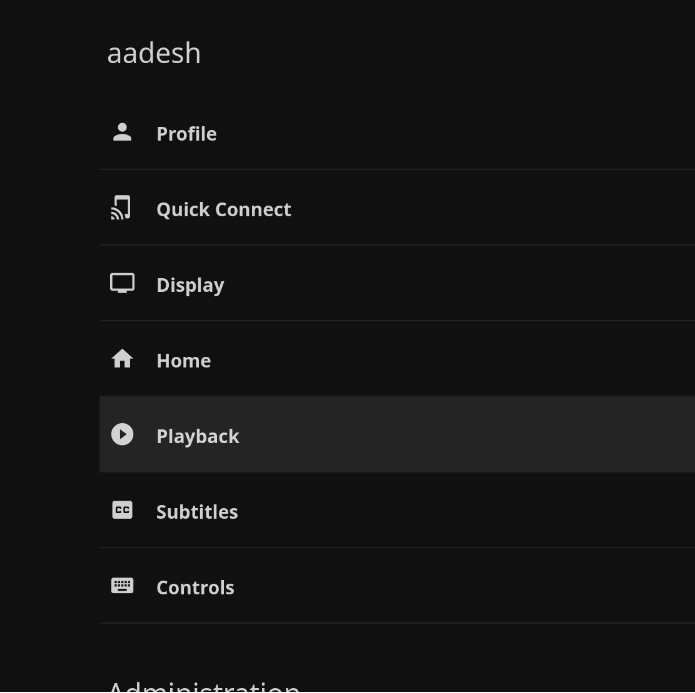
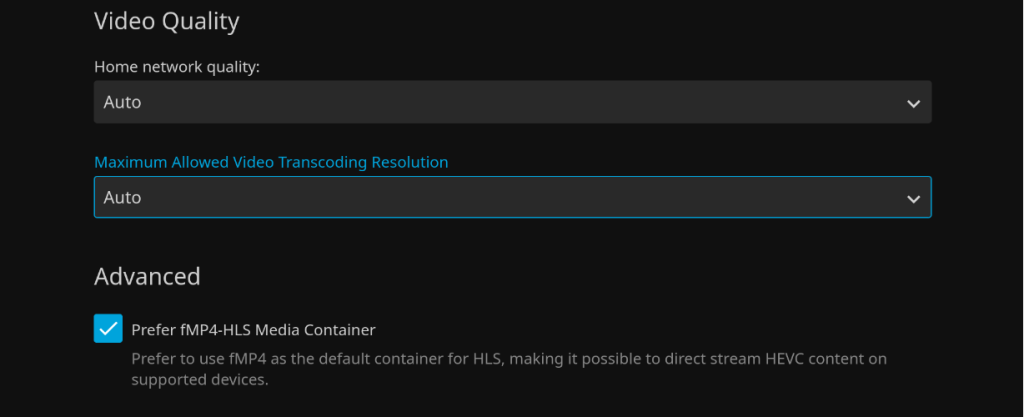
From the playback settings, enable the ‘Prefer fMP4-HLS media container’ checkbox. Also, if any decoders are shown in your settings, then choose appropriately (select a GPU which is capable of decoding videos).
Now, let the server scan all your directories, and then you will be able to stream your Media from the browser.
Summary
If you have enabled Port forwarding on your router, then you can access your media server from anywhere in the world using the Internet. However, this is not recommended unless you know how to keep your server secure using Firewall and other such tools.
I hope this tutorial was useful to you while setting up the Jellyfin server on your PC.