

In this tutorial, we’ll learn how to install CentOS on VirtualBox. CentOS (Community Enterprise Operating System) is a group of Linux Distribution supporting free and open-source community-supported software. It was started in 2003 and since 2014 has been backed by Red Hat.
It is however discontinued, and the last release was on 16th November 2021. The package manager is dnf and it came with support on x86-64 as well as ARM64 architectures. Let us now dive into the installation in VirtualBox.
Steps to Install CentOS on VirtualBox
If you don’t have VirtualBox installed check this.
Downloading CentOS img file
Now, we will need the img file of CentOS to install it on our Virtual Machine. To download the file visit this link. Select your desired mirror link to download the file to your machine.
VirtualBox Settings
Now we have to set up VirtualBox so that we can run CentOS.
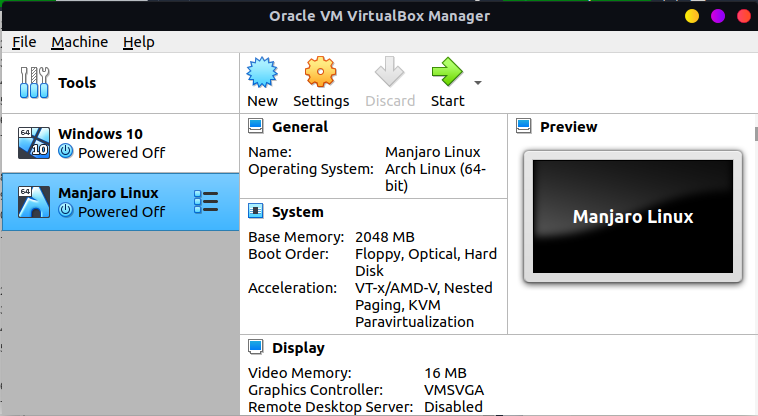
- First, launch VirtualBox. Click on the “New” button to create a new machine.
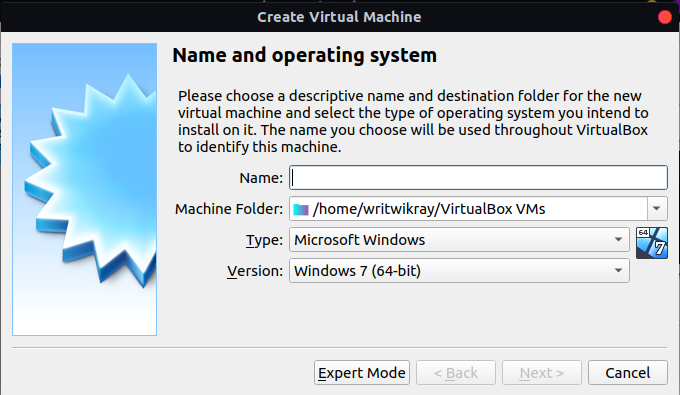
- Now give a suitable title to your machine.
- Under type choose “Other Linux (64 bit)”
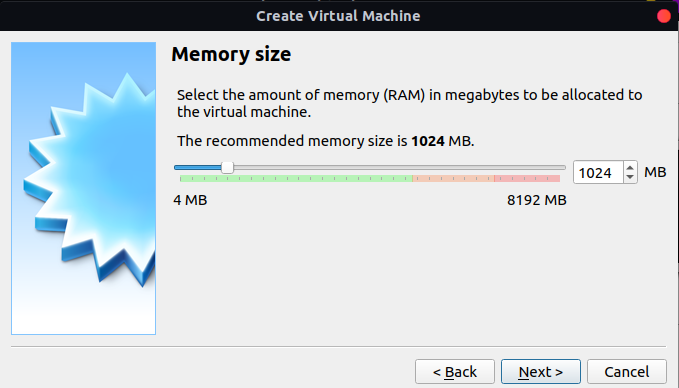
- Here, allocate the memory you would like to have for the virtual machine (We are going with 2048MB).
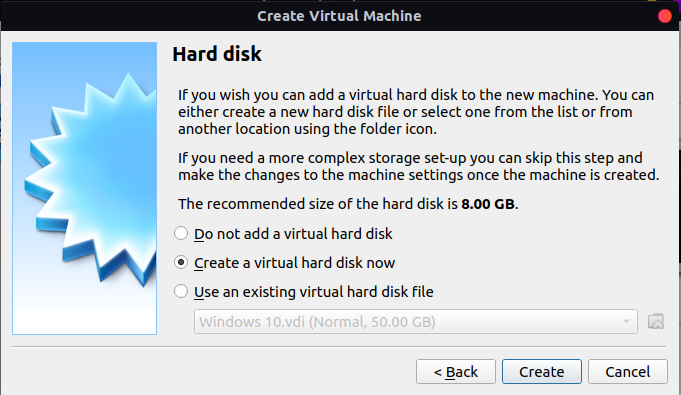
- Now choose to create a hard disk. (If you want to use an existing hard disk file choose that instead).
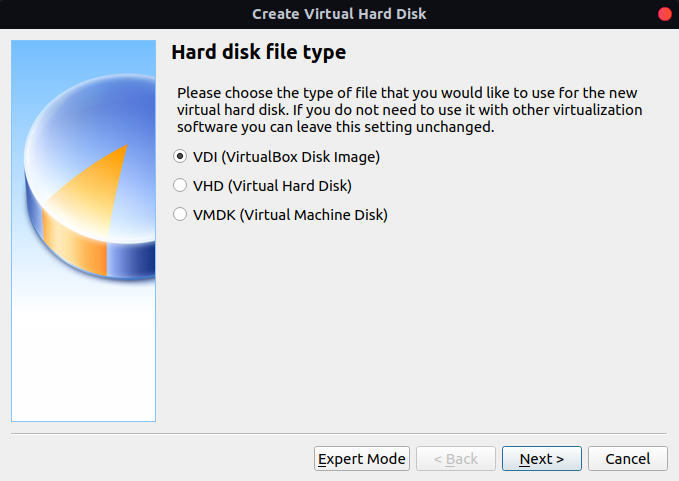
- Choose the type of file to use for the new virtual hard disk. (We will go with the default settings here).
- Choose the storage type. We will choose 20GB of fixed storage.
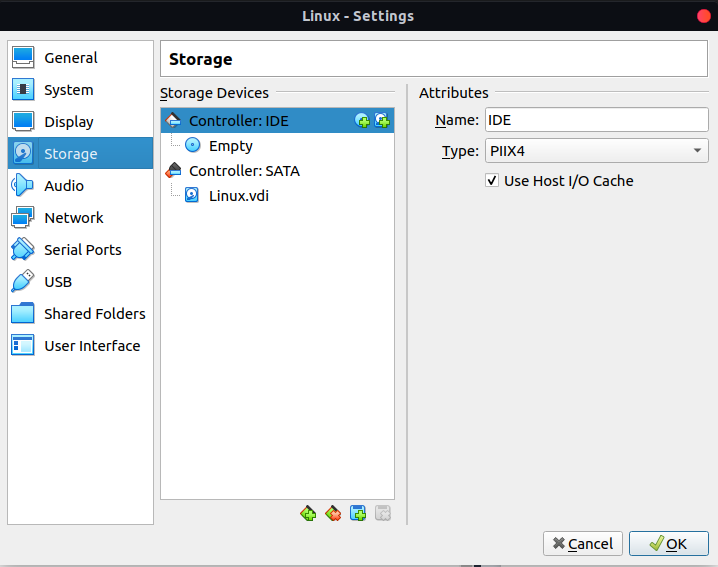
- Now we need to give the iso or img file we earlier downloaded. Choose the virtual machine you just created and click on the Settings (gear) icon. Under Controller click on the optical disk icon to add a new disk image and choose the CentOS iso file.
- Now go to the System tab and under Boot Order untick the Floppy option.
- Finally, click on the Start Button to start your Virtual Machine.
First Boot and Configuring CentOS
- Once the virtual machine starts up, you will be prompted to choose the language and click on continue.
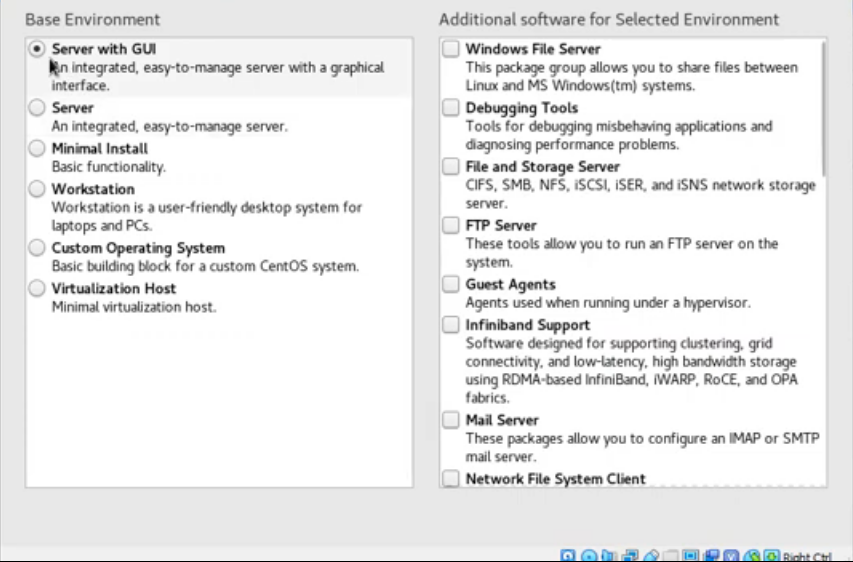
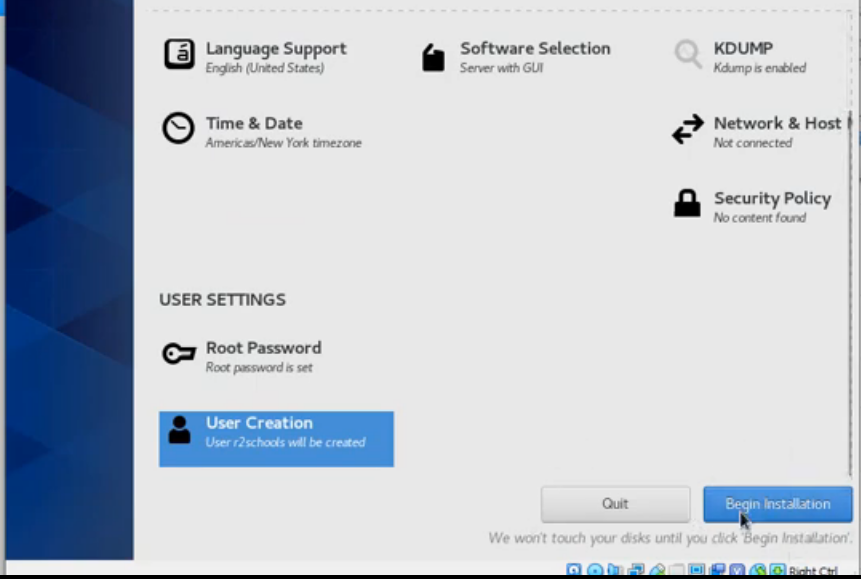
- Now choose “Software selection” and choose your preferred option. We will go with “Server with GUI”. For installing additional software select from the left side and click on “Done”.
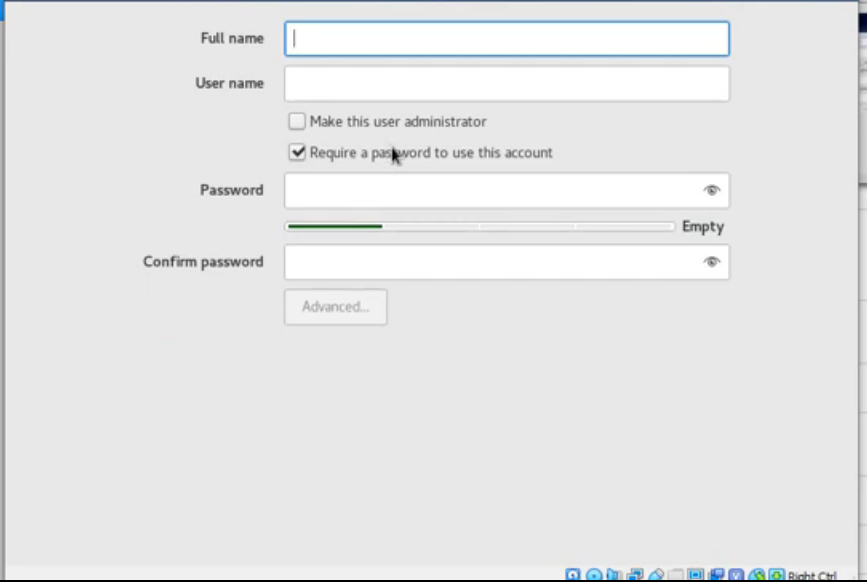
- Now scroll down and go to “User Settings”. Choose the root password and set it. Now click on User Creation to create a new user. This will be used to log into the machine.
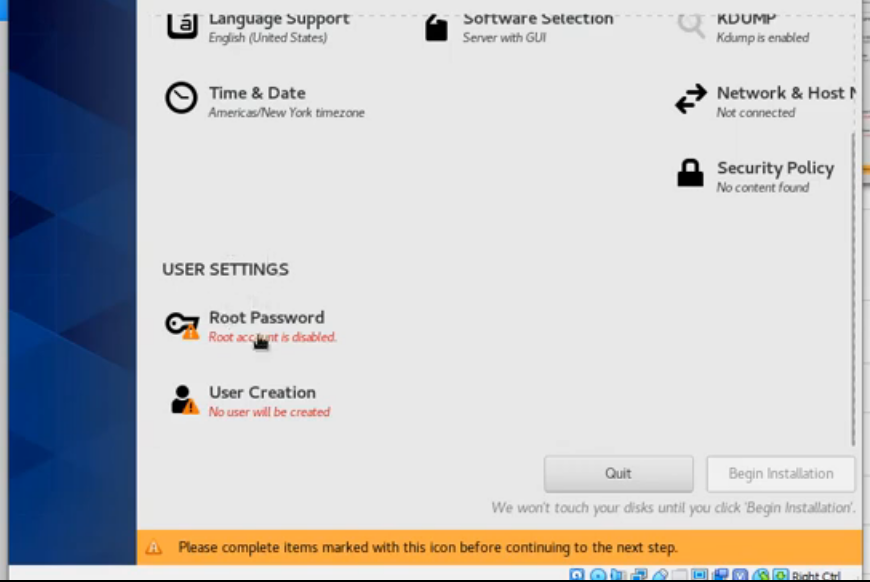
- Finally, click on “Begin Installation”, this may take some time.
- When done, reboot the virtual machine, and choose the first option (or it will take the option automatically).
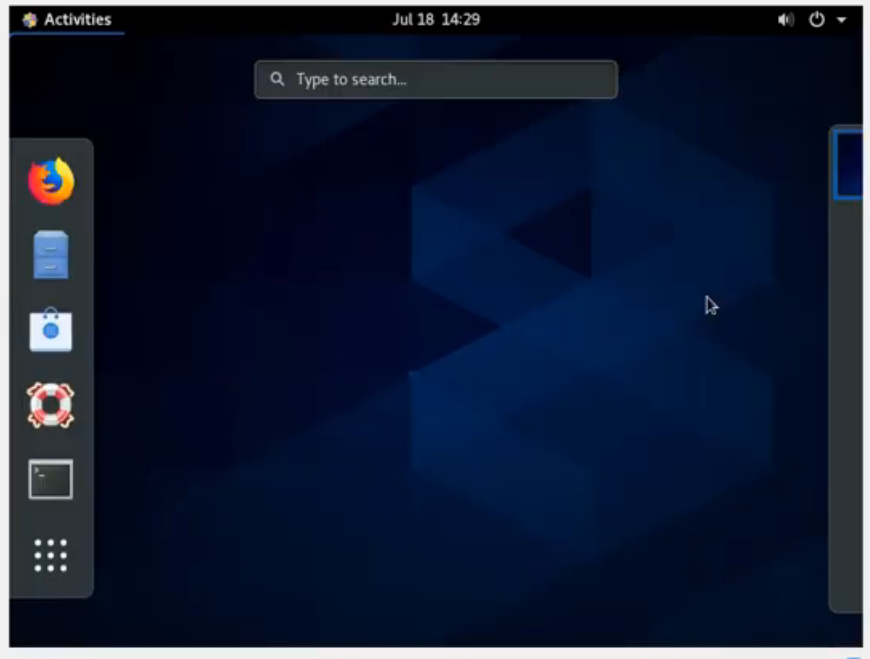
- Log in using the user you created.
Conclusion
That’s it! You now have a fully functional CentOS installation on your Linux computer ready to be used. Go ahead and begin playing around with the setup. You can create a snapshot with VirtualBox too. In case you break something in the installation, it will become super easy to revert to the default setup without going through the installation all over again.